**This post has been entered in Monday Mania at The Healthy Home Economist!**
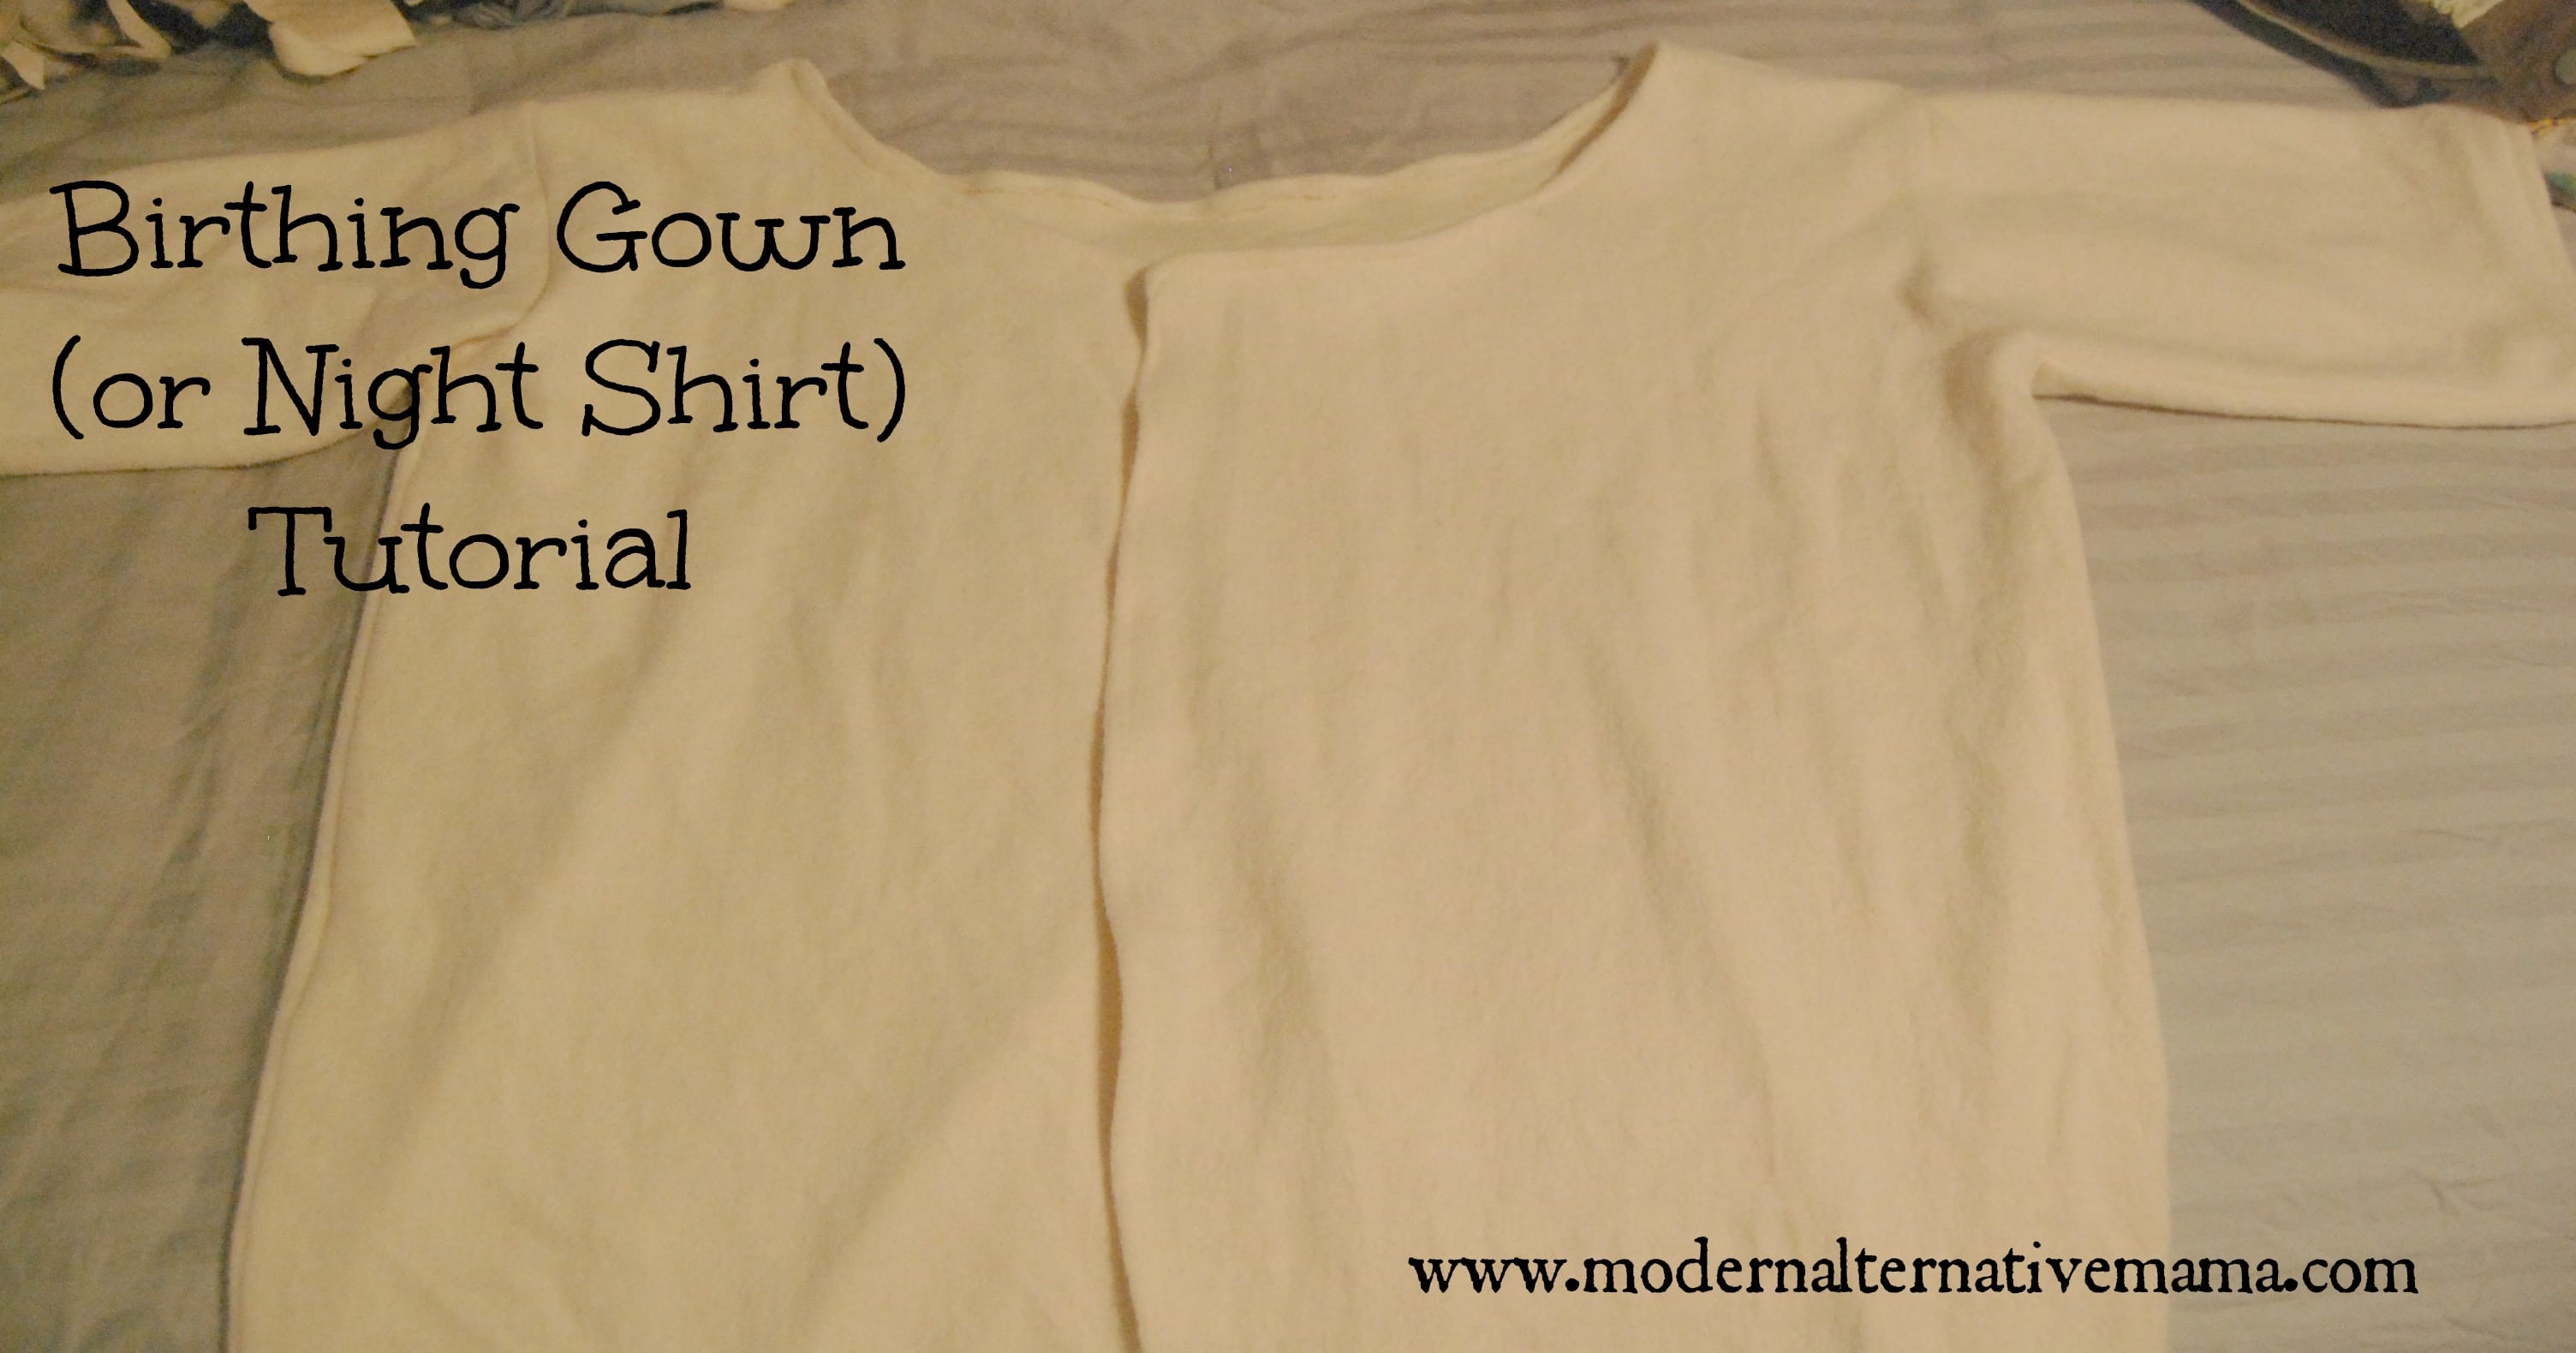
Don’t be afraid of the ‘birthing gown’ idea — this works just as well as a night shirt for those who aren’t in need of birthing gowns currently! And this is a very loose ‘pattern,’ so it can fit anyone. It’s relatively simple, so you can sew it in just about an hour. It’s flexible in design, too. Keep reading to see!

Here’s what you’ll need:
- Fabric (I chose organic bamboo velour)
- Scissors
- Tape measure
- Pins
That, plus a sewing machine and thread is all you need! A straight stitch is all you need to be able to do, so even if you’re a novice you can do this.
Measure your body from your shoulder down to your waist along your back. This is the length of your shirt — although you may choose to make it shorter or longer as desired. Mine is only like a longish shirt because I don’t want to sit on it post-birth! Mine is 28″ long.
Measure your waist in the back, and divide this number in half. This is how wide you will make the shirt. My back waist was about 22″, so I’m using 11″ as the width.
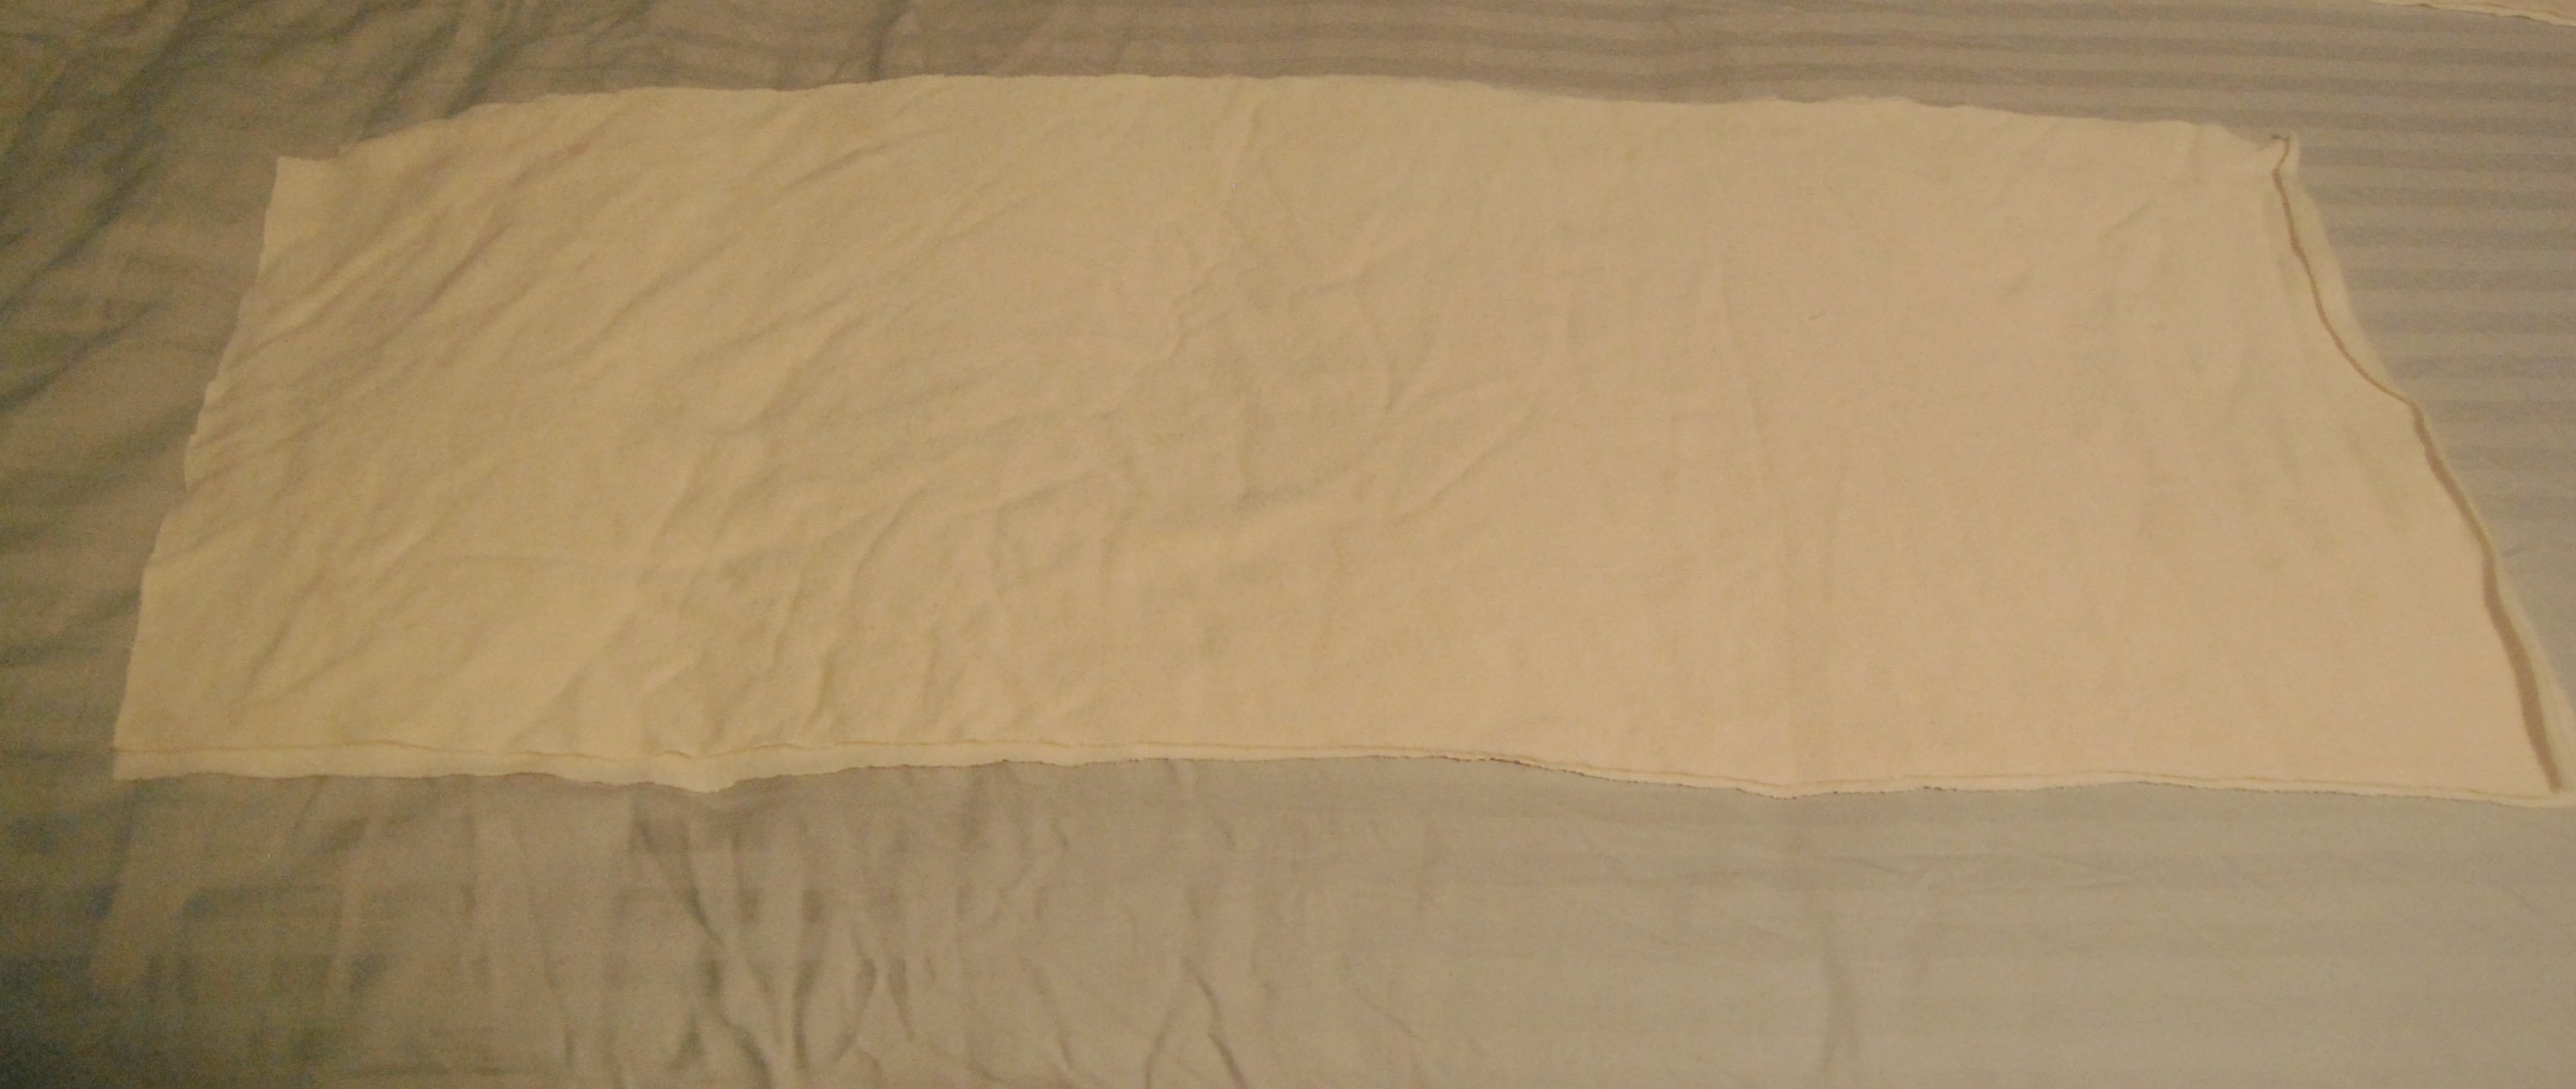
Fold your fabric in half:
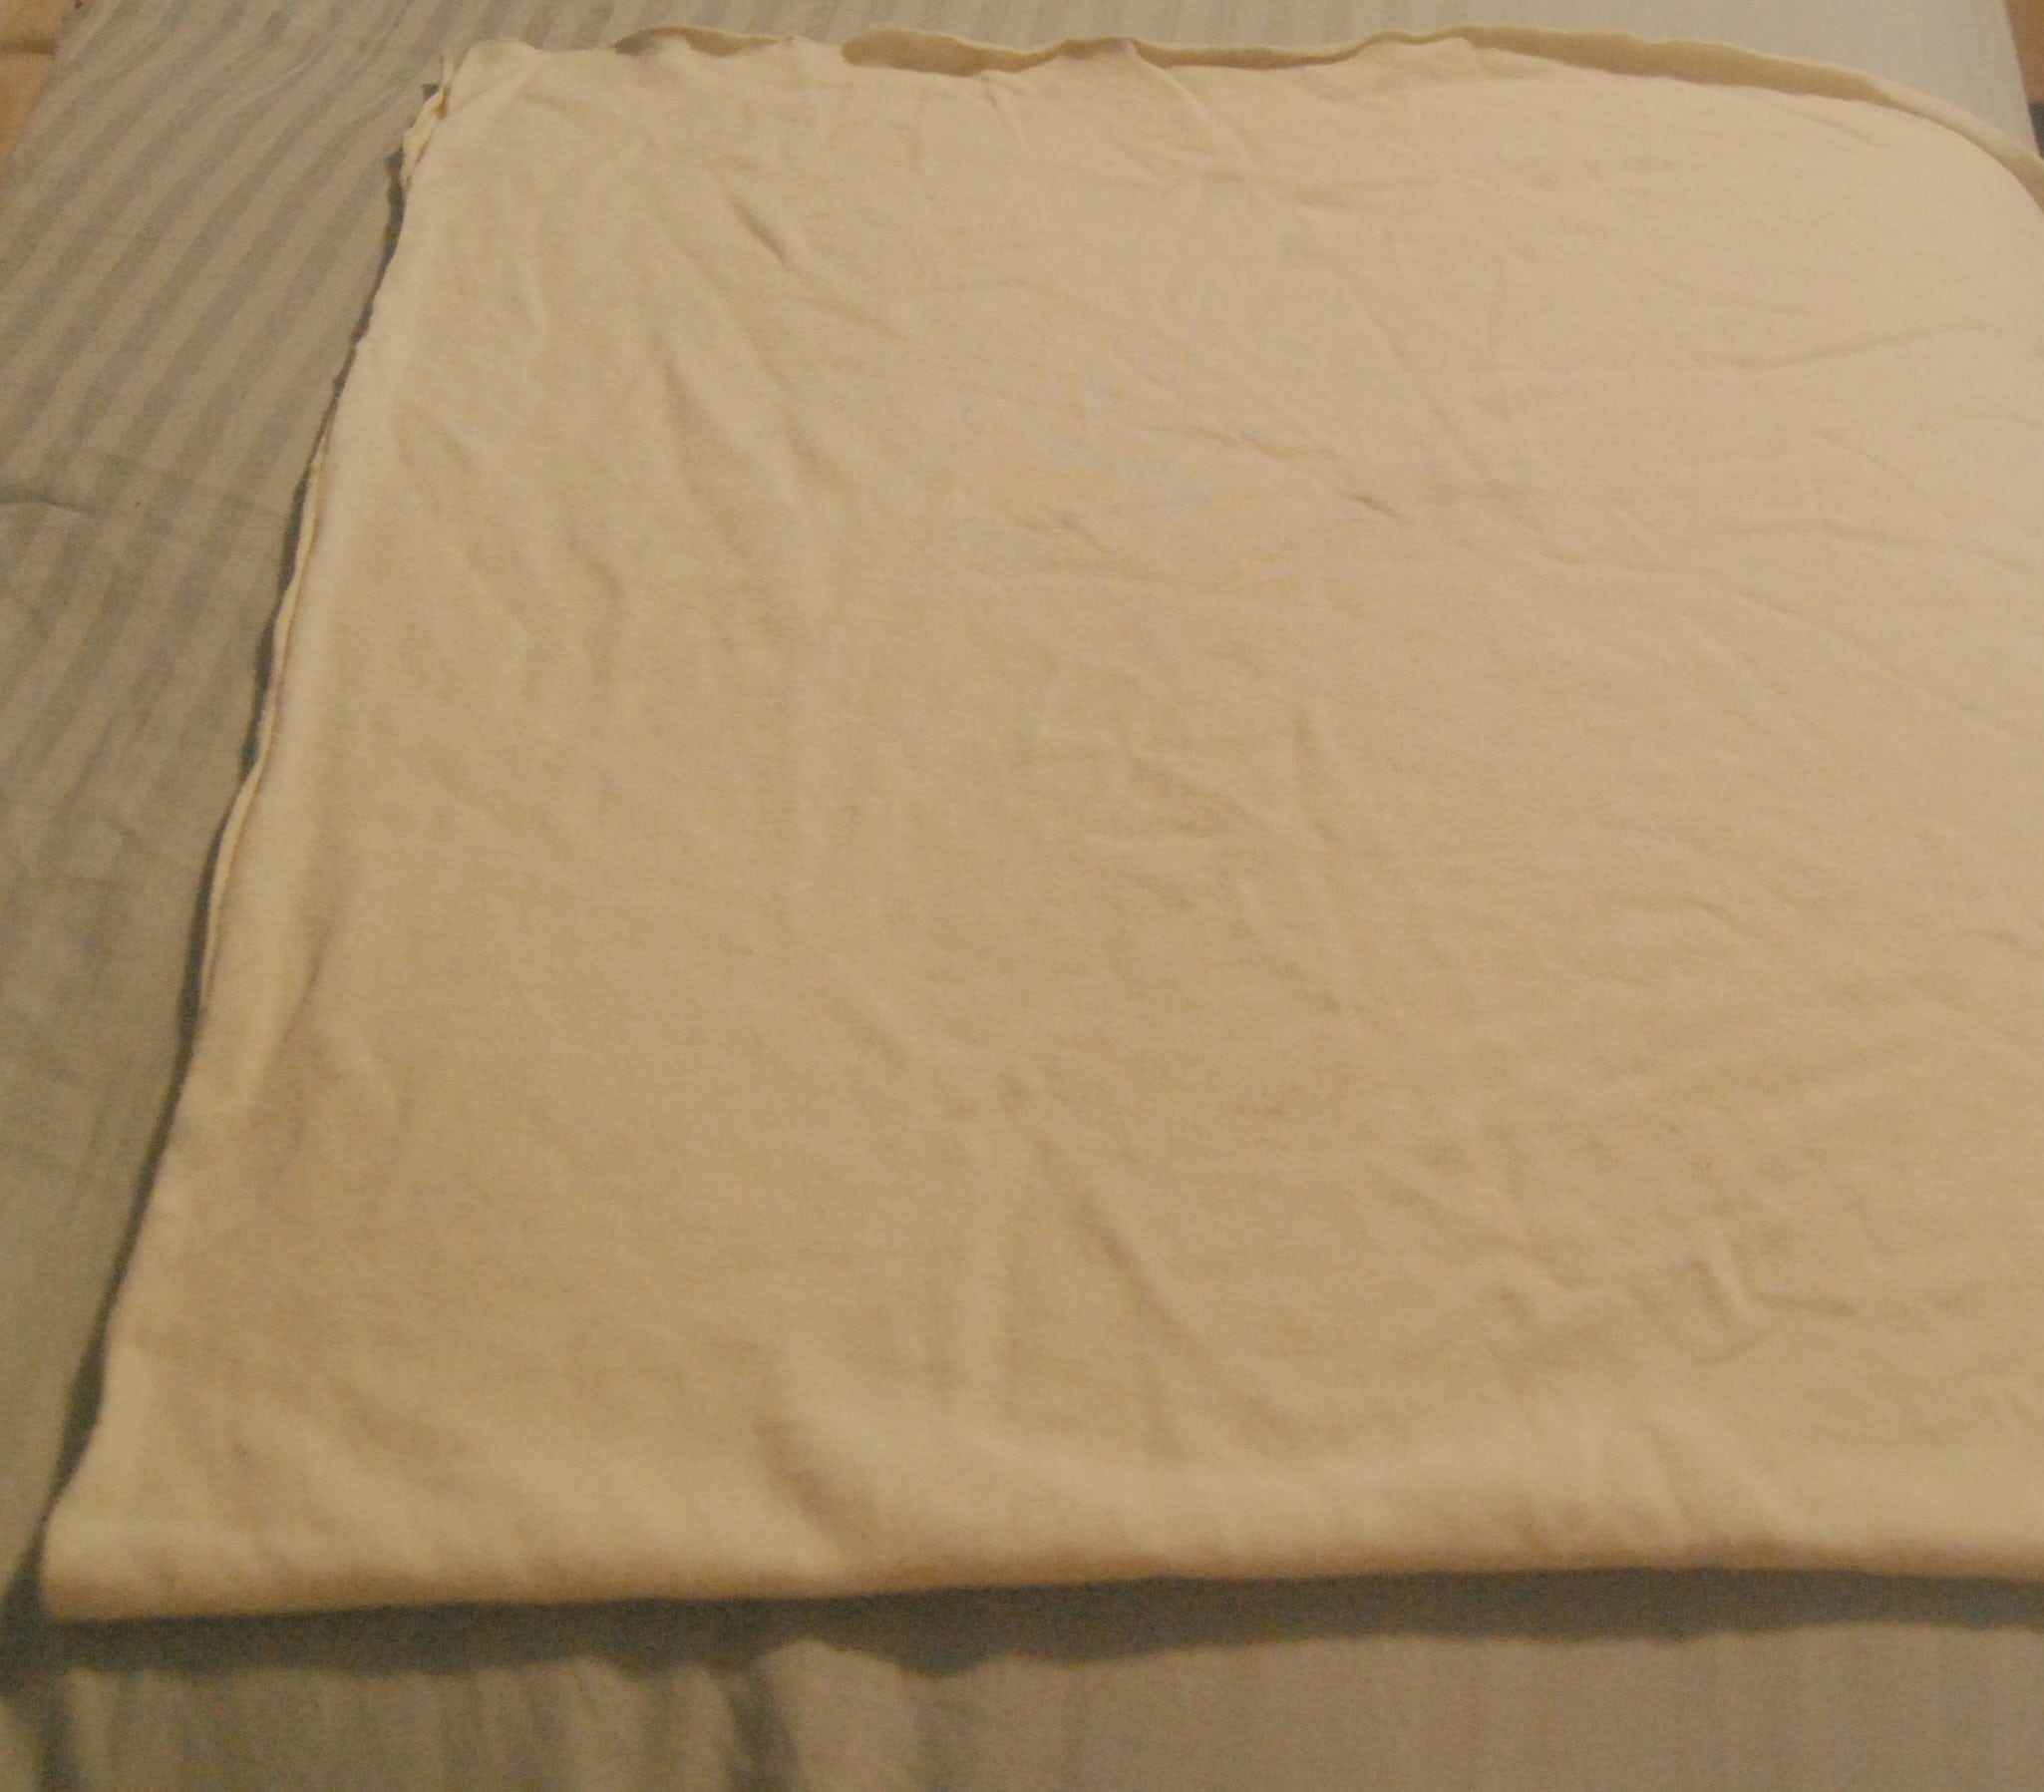
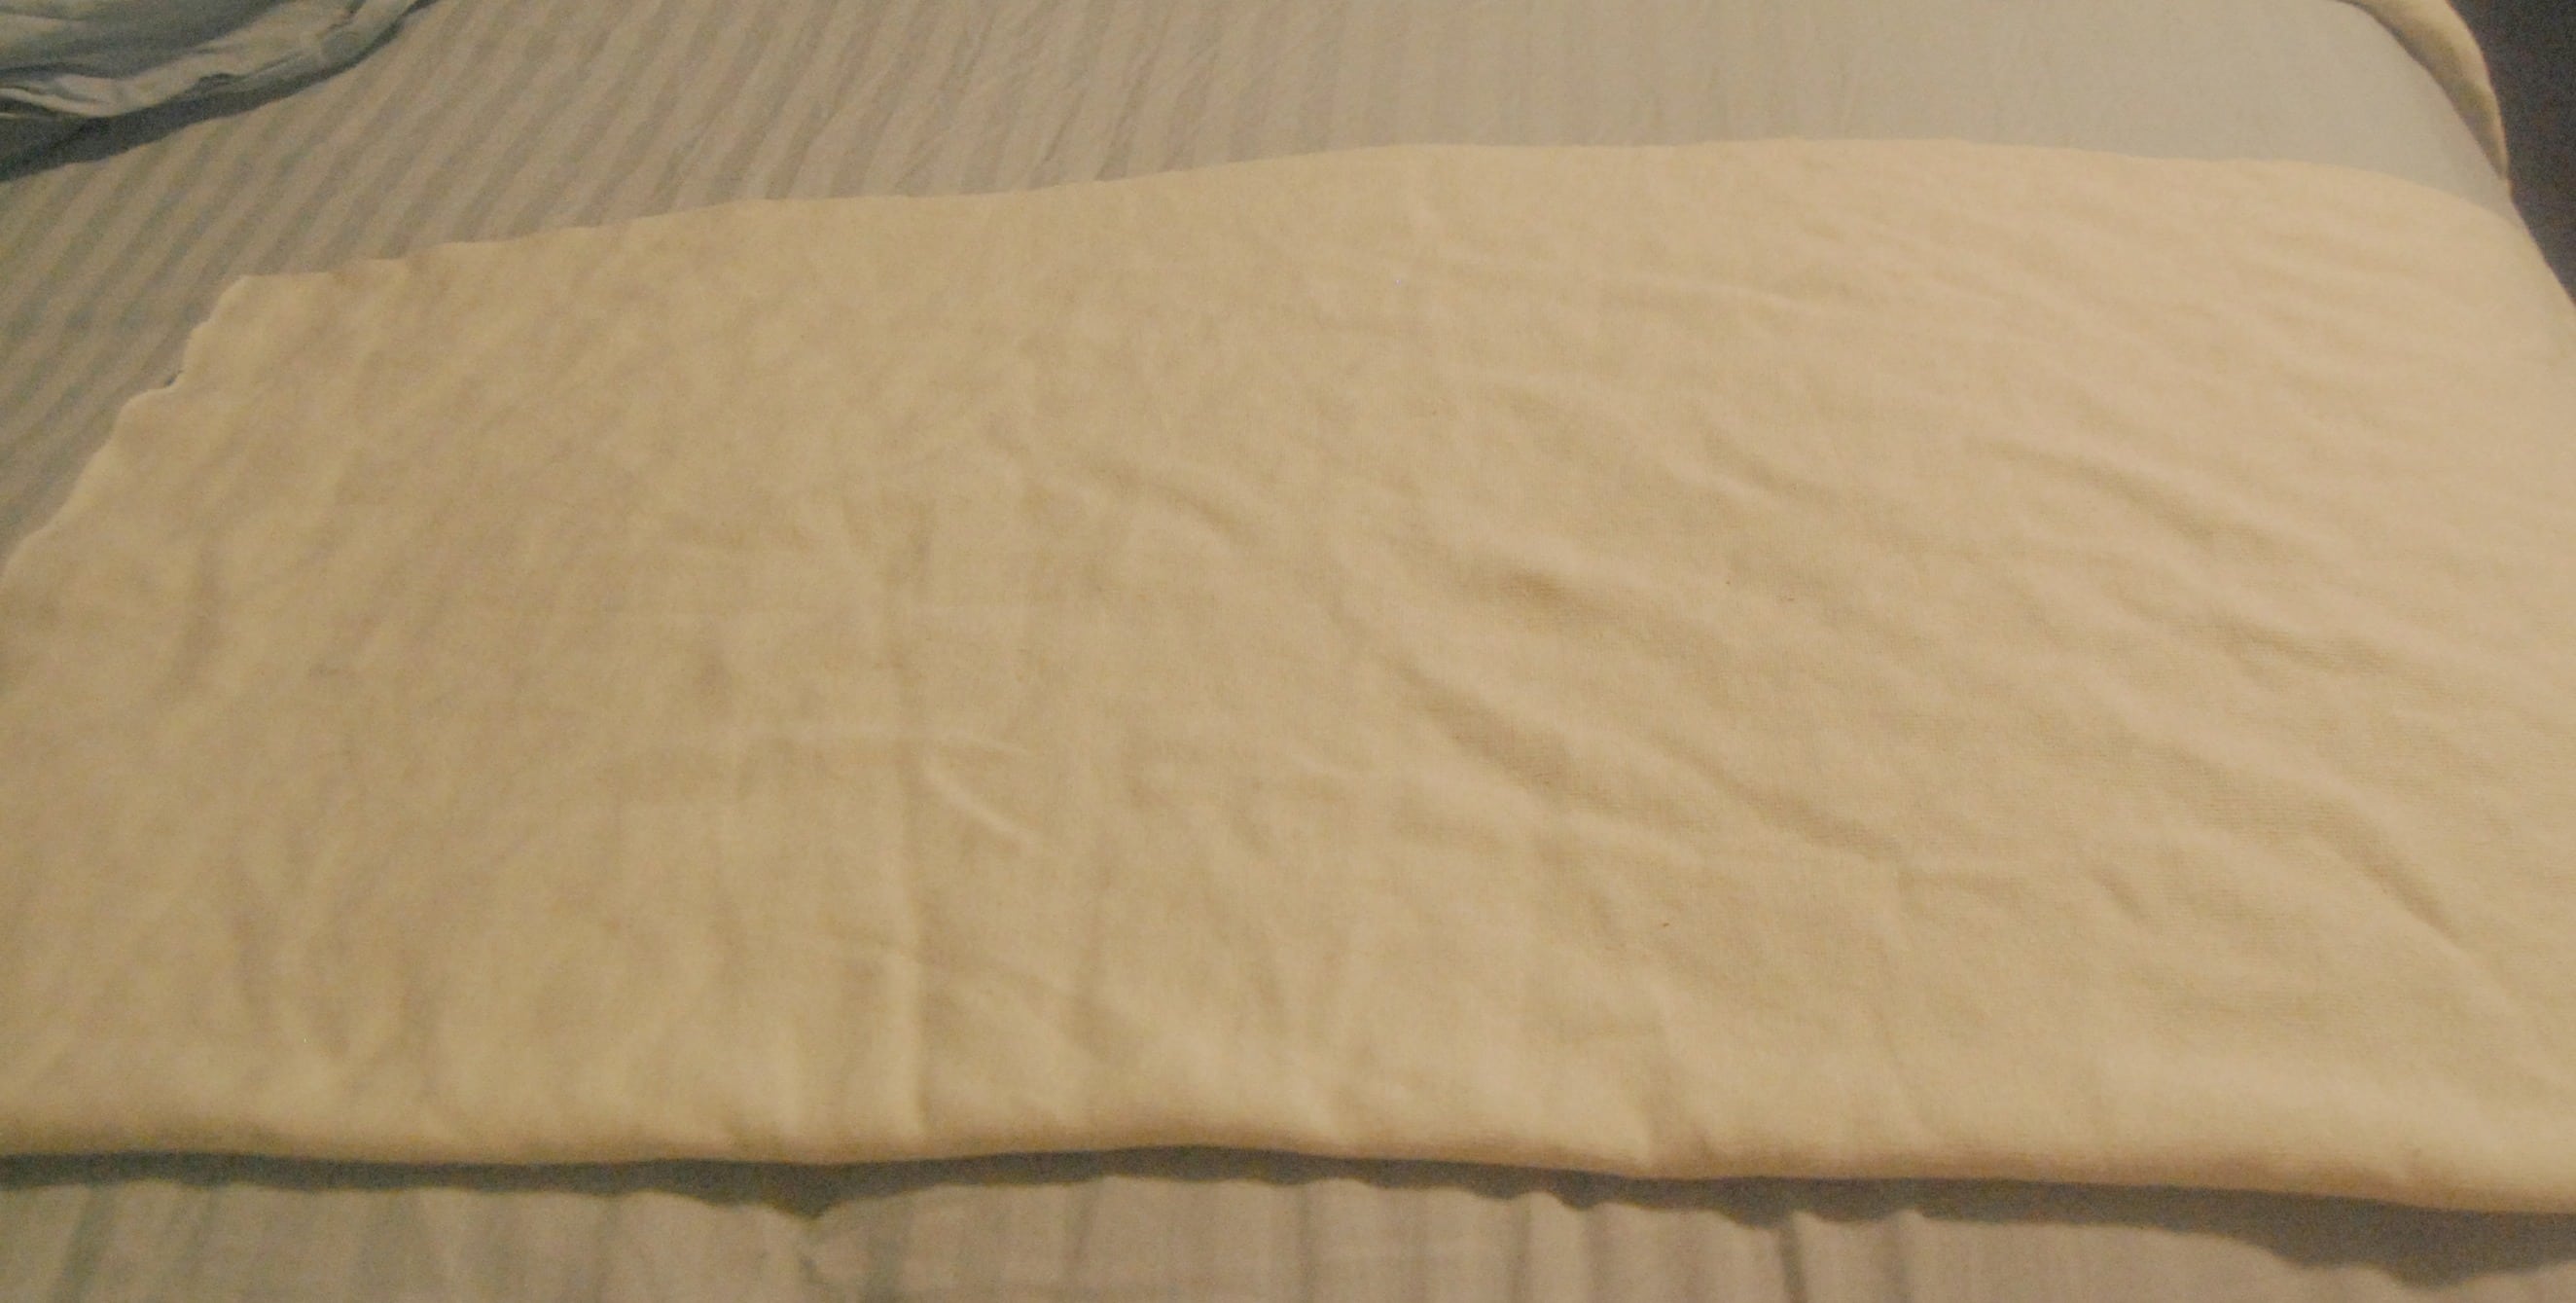
Measure your length (28″ is mine) along the fold, and then the width along the other side (11″ is mine). Cut a rectangle this size. Here is my rectangle:
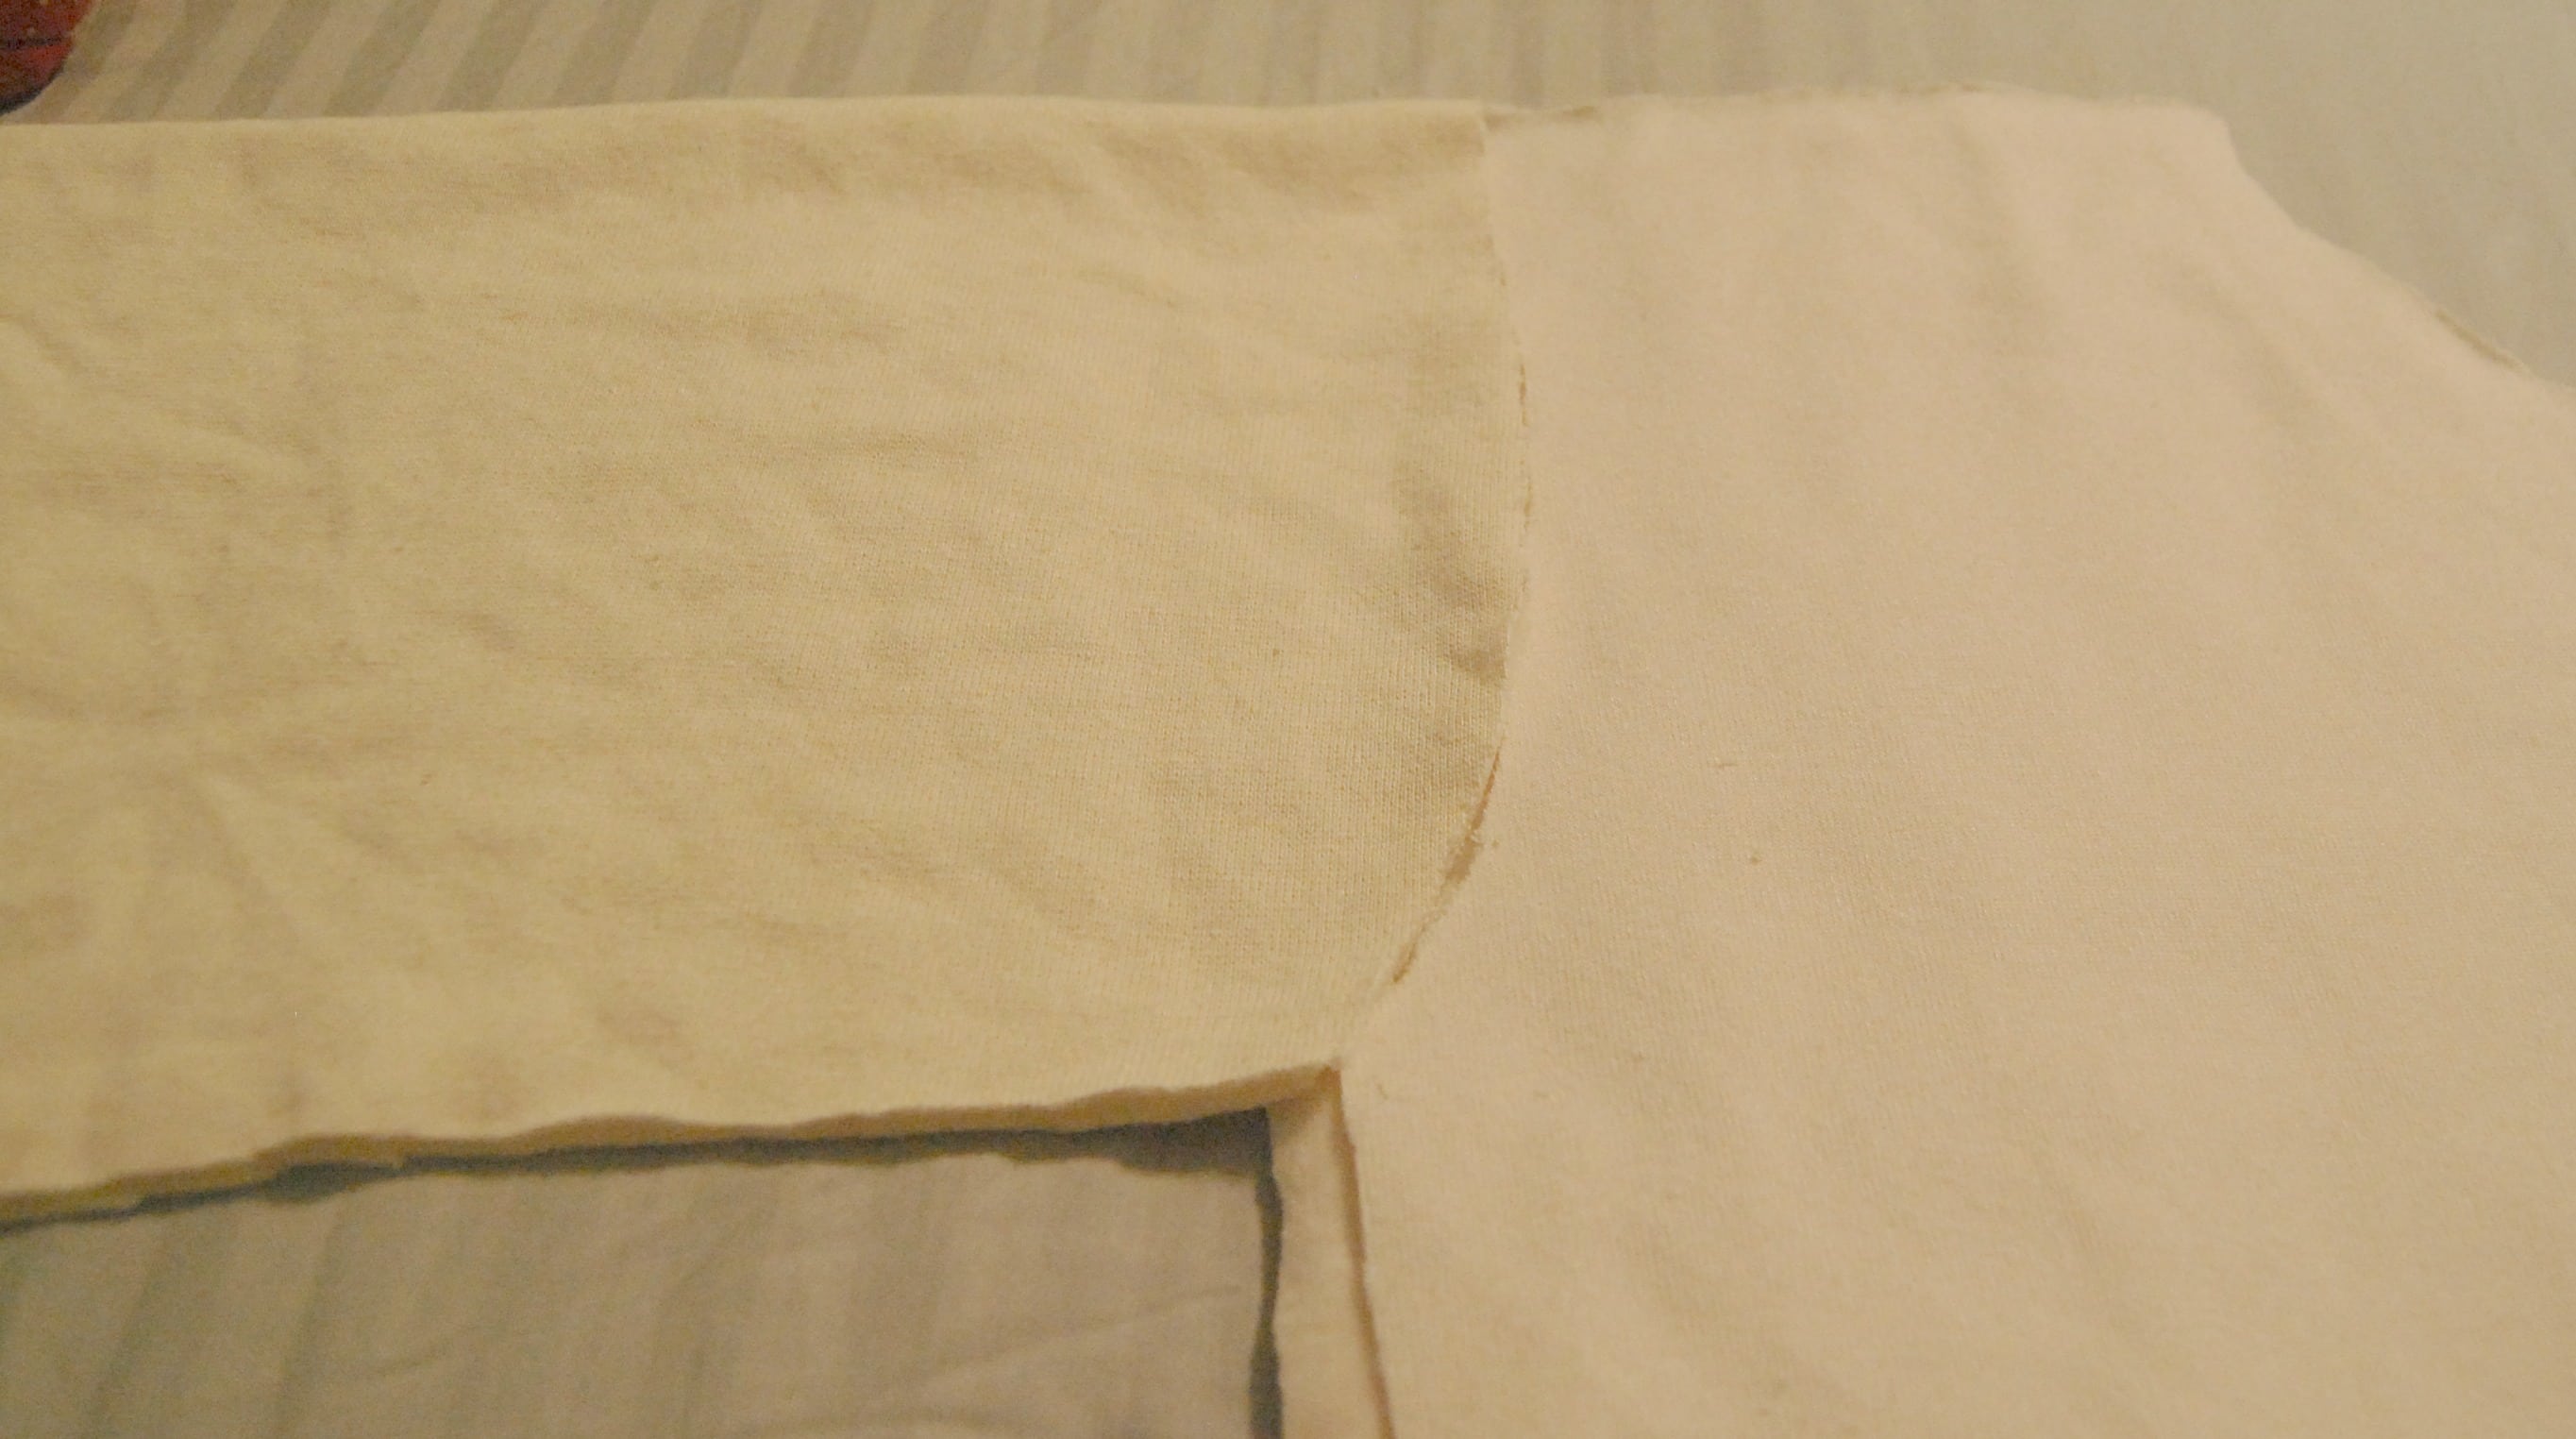
Starting on the folded edge, go down about 4″ and cut a partial circle out. This is for your neck hole. Here is my neck hole:
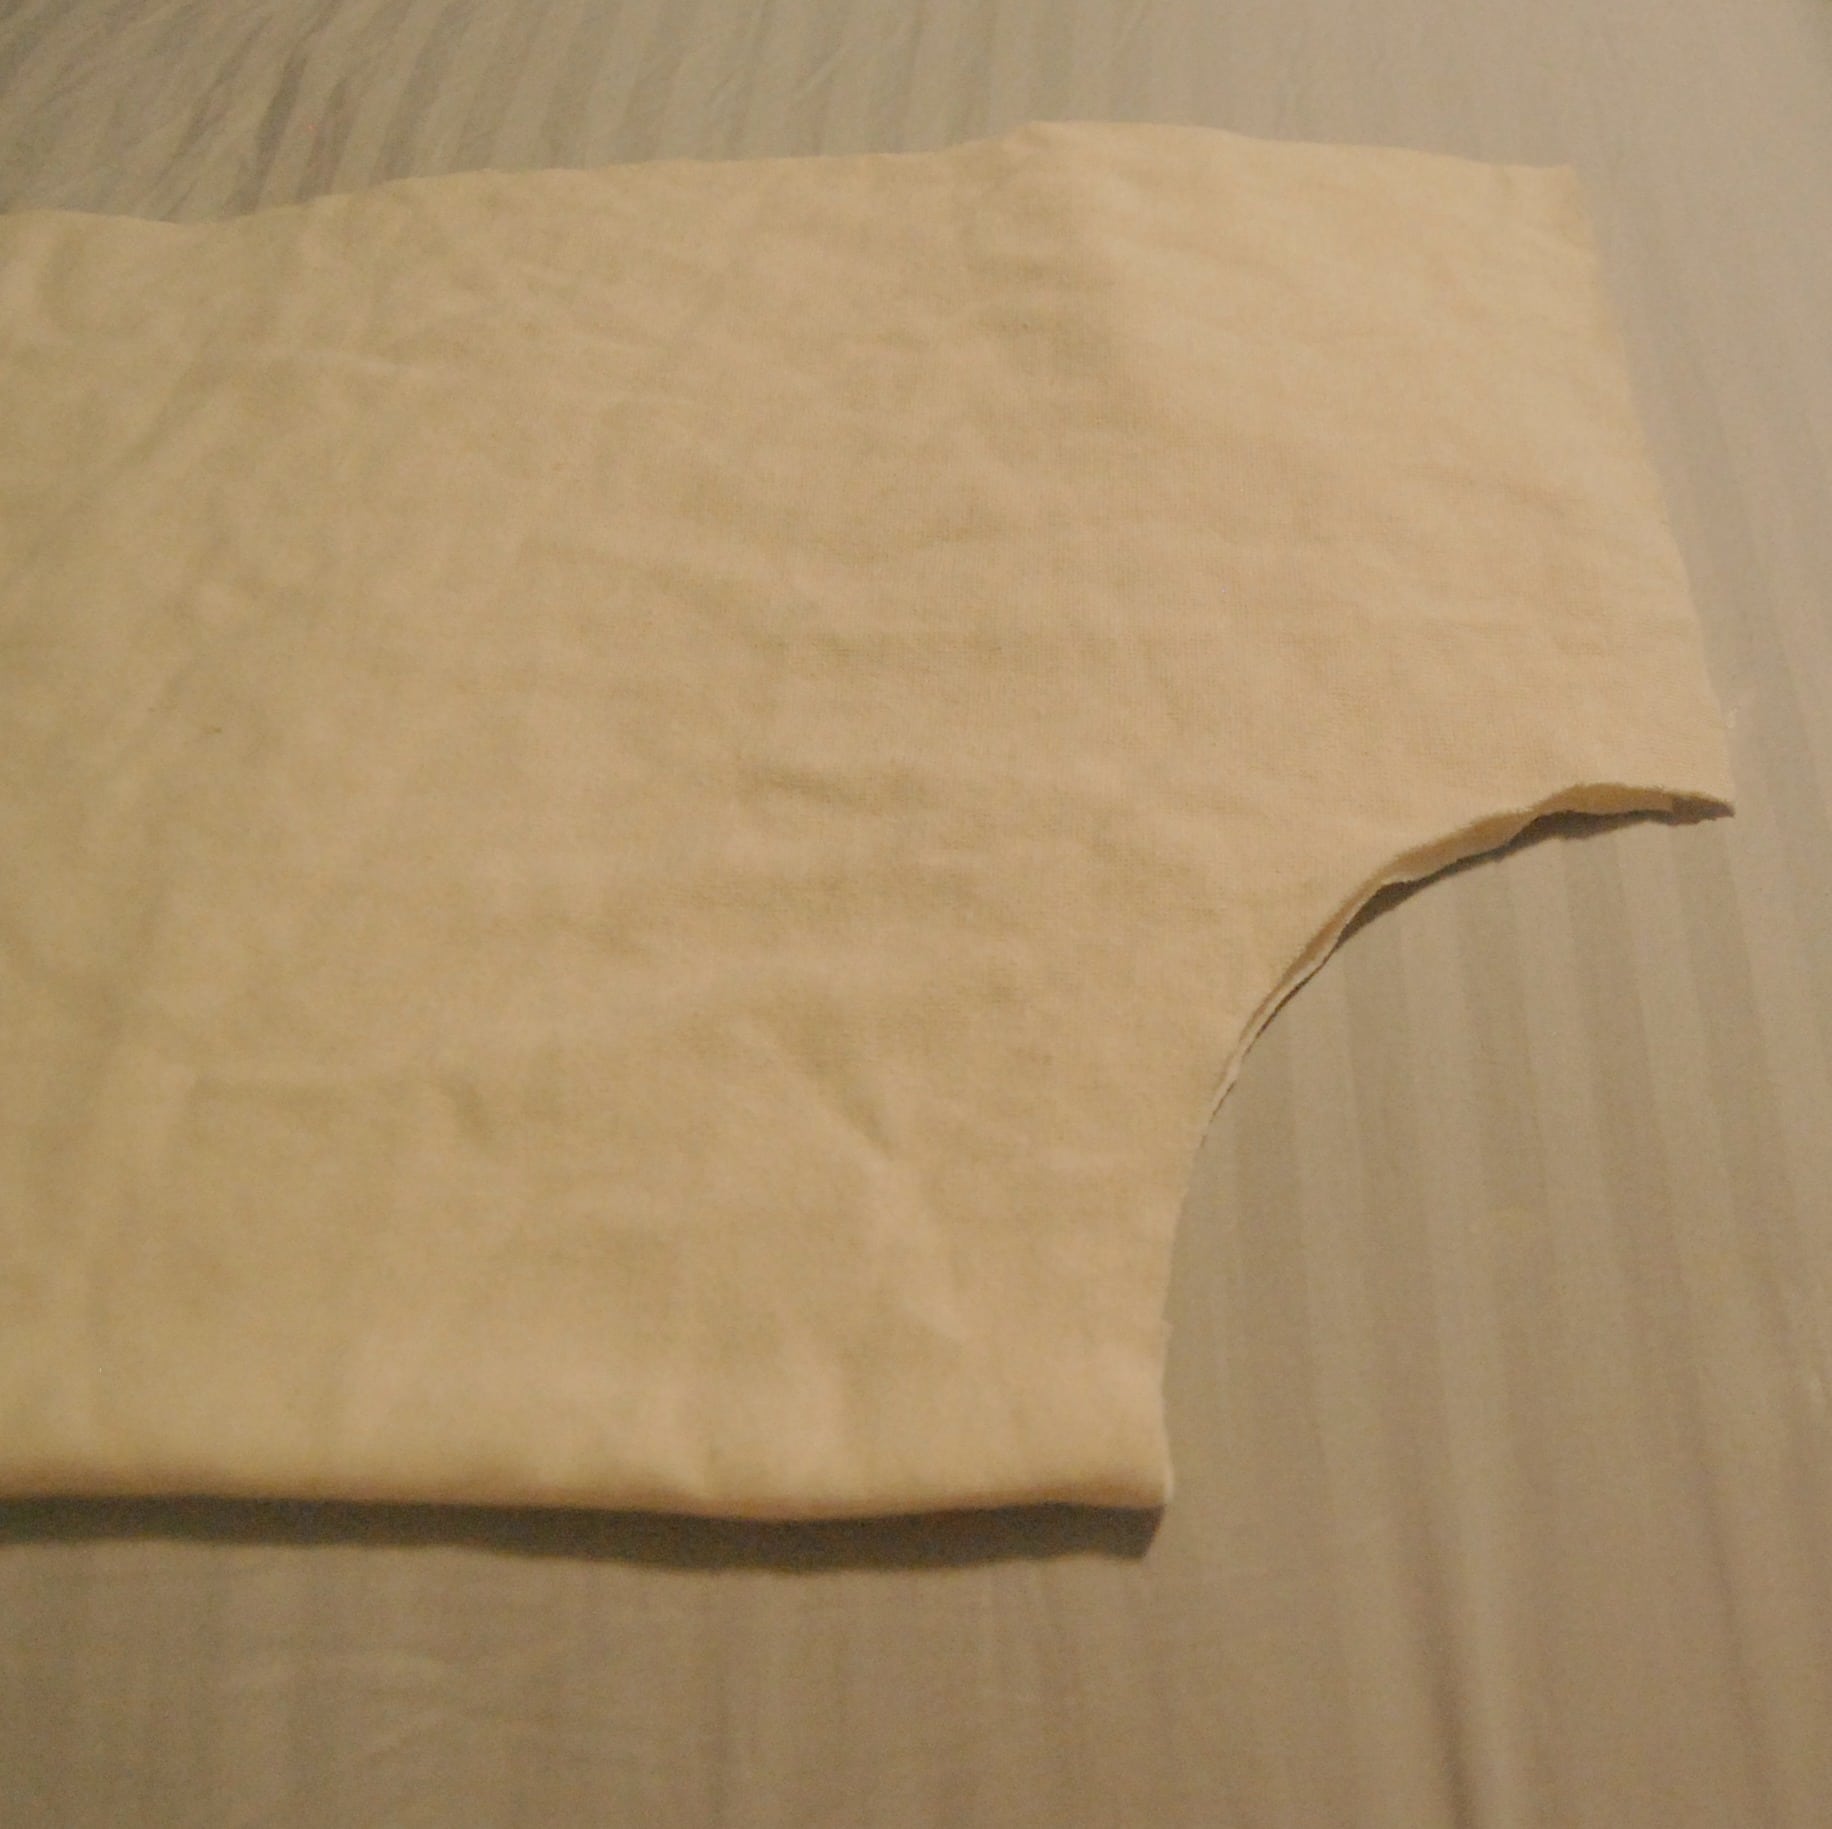
On the other side (opposite the fold), measure down about 8″ and cut a slight circle for the armhole. If your arms are larger, measure down 9 – 10″ as needed (8″ allows just about enough room for me, and isn’t tight). It’s better to be too loose for this rather than too tight — you’ll want to be comfortable, whether it’s for sleeping or birthing!
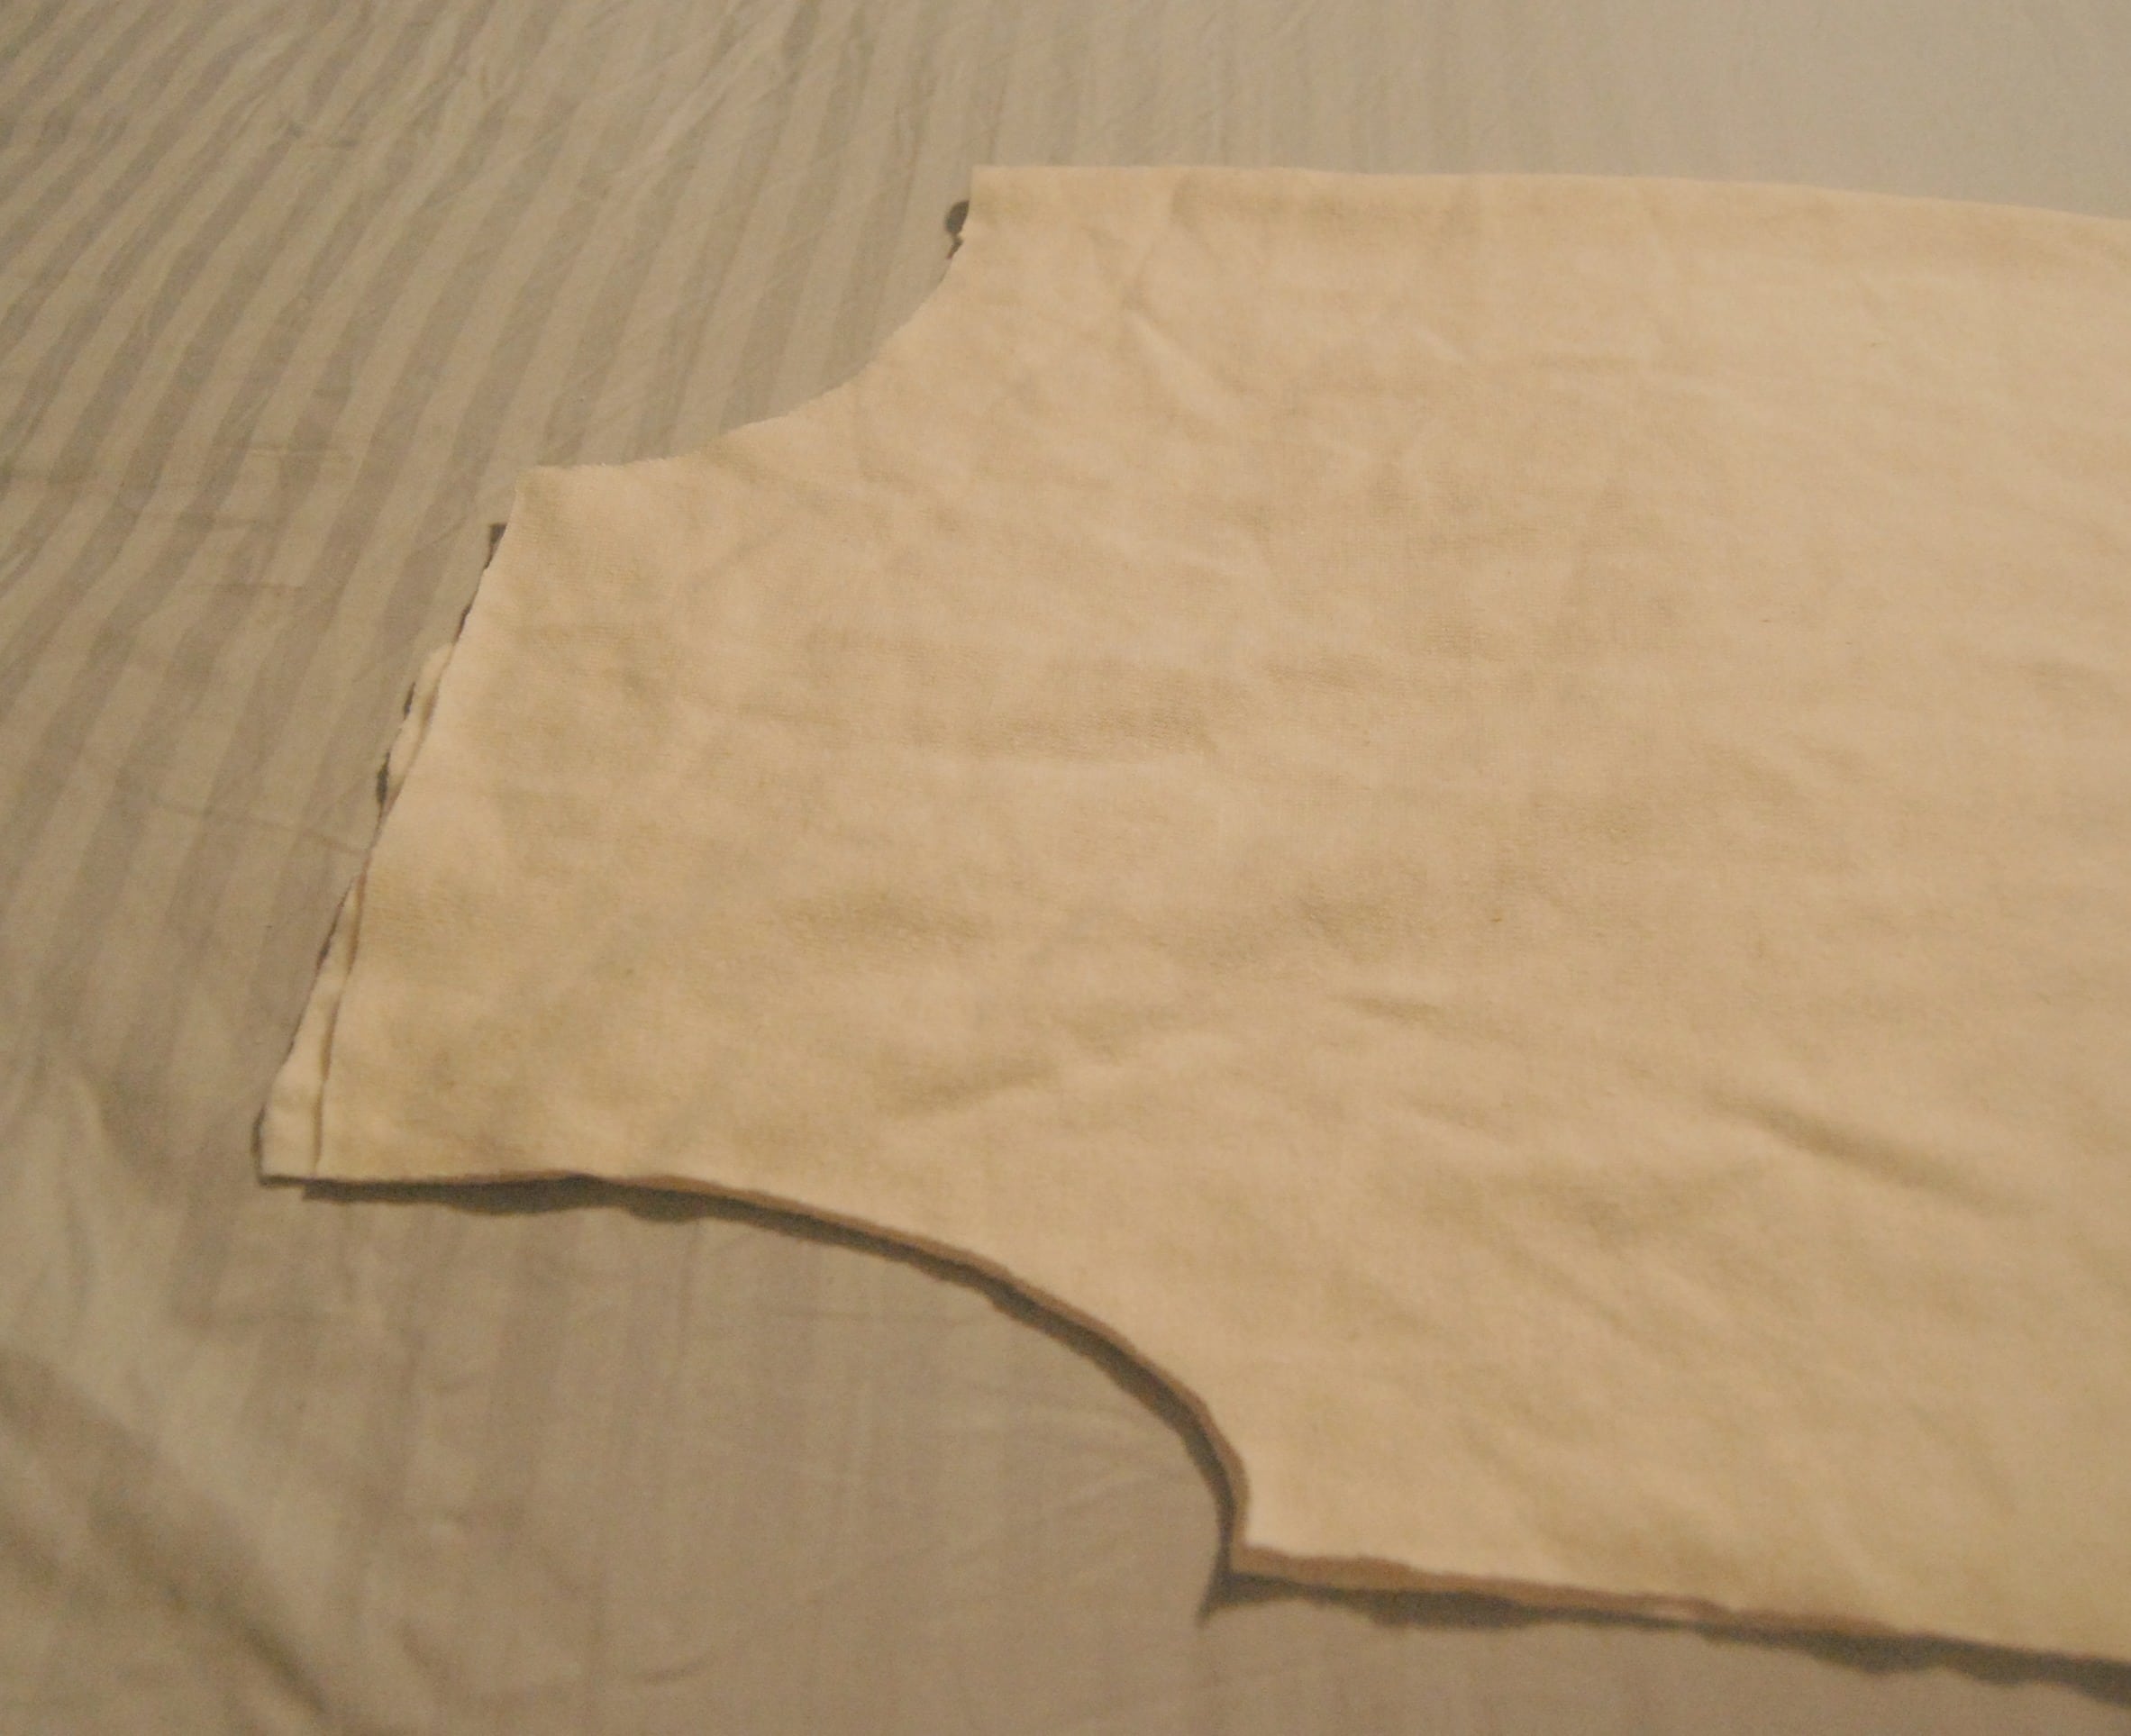
This is the back of your shirt!
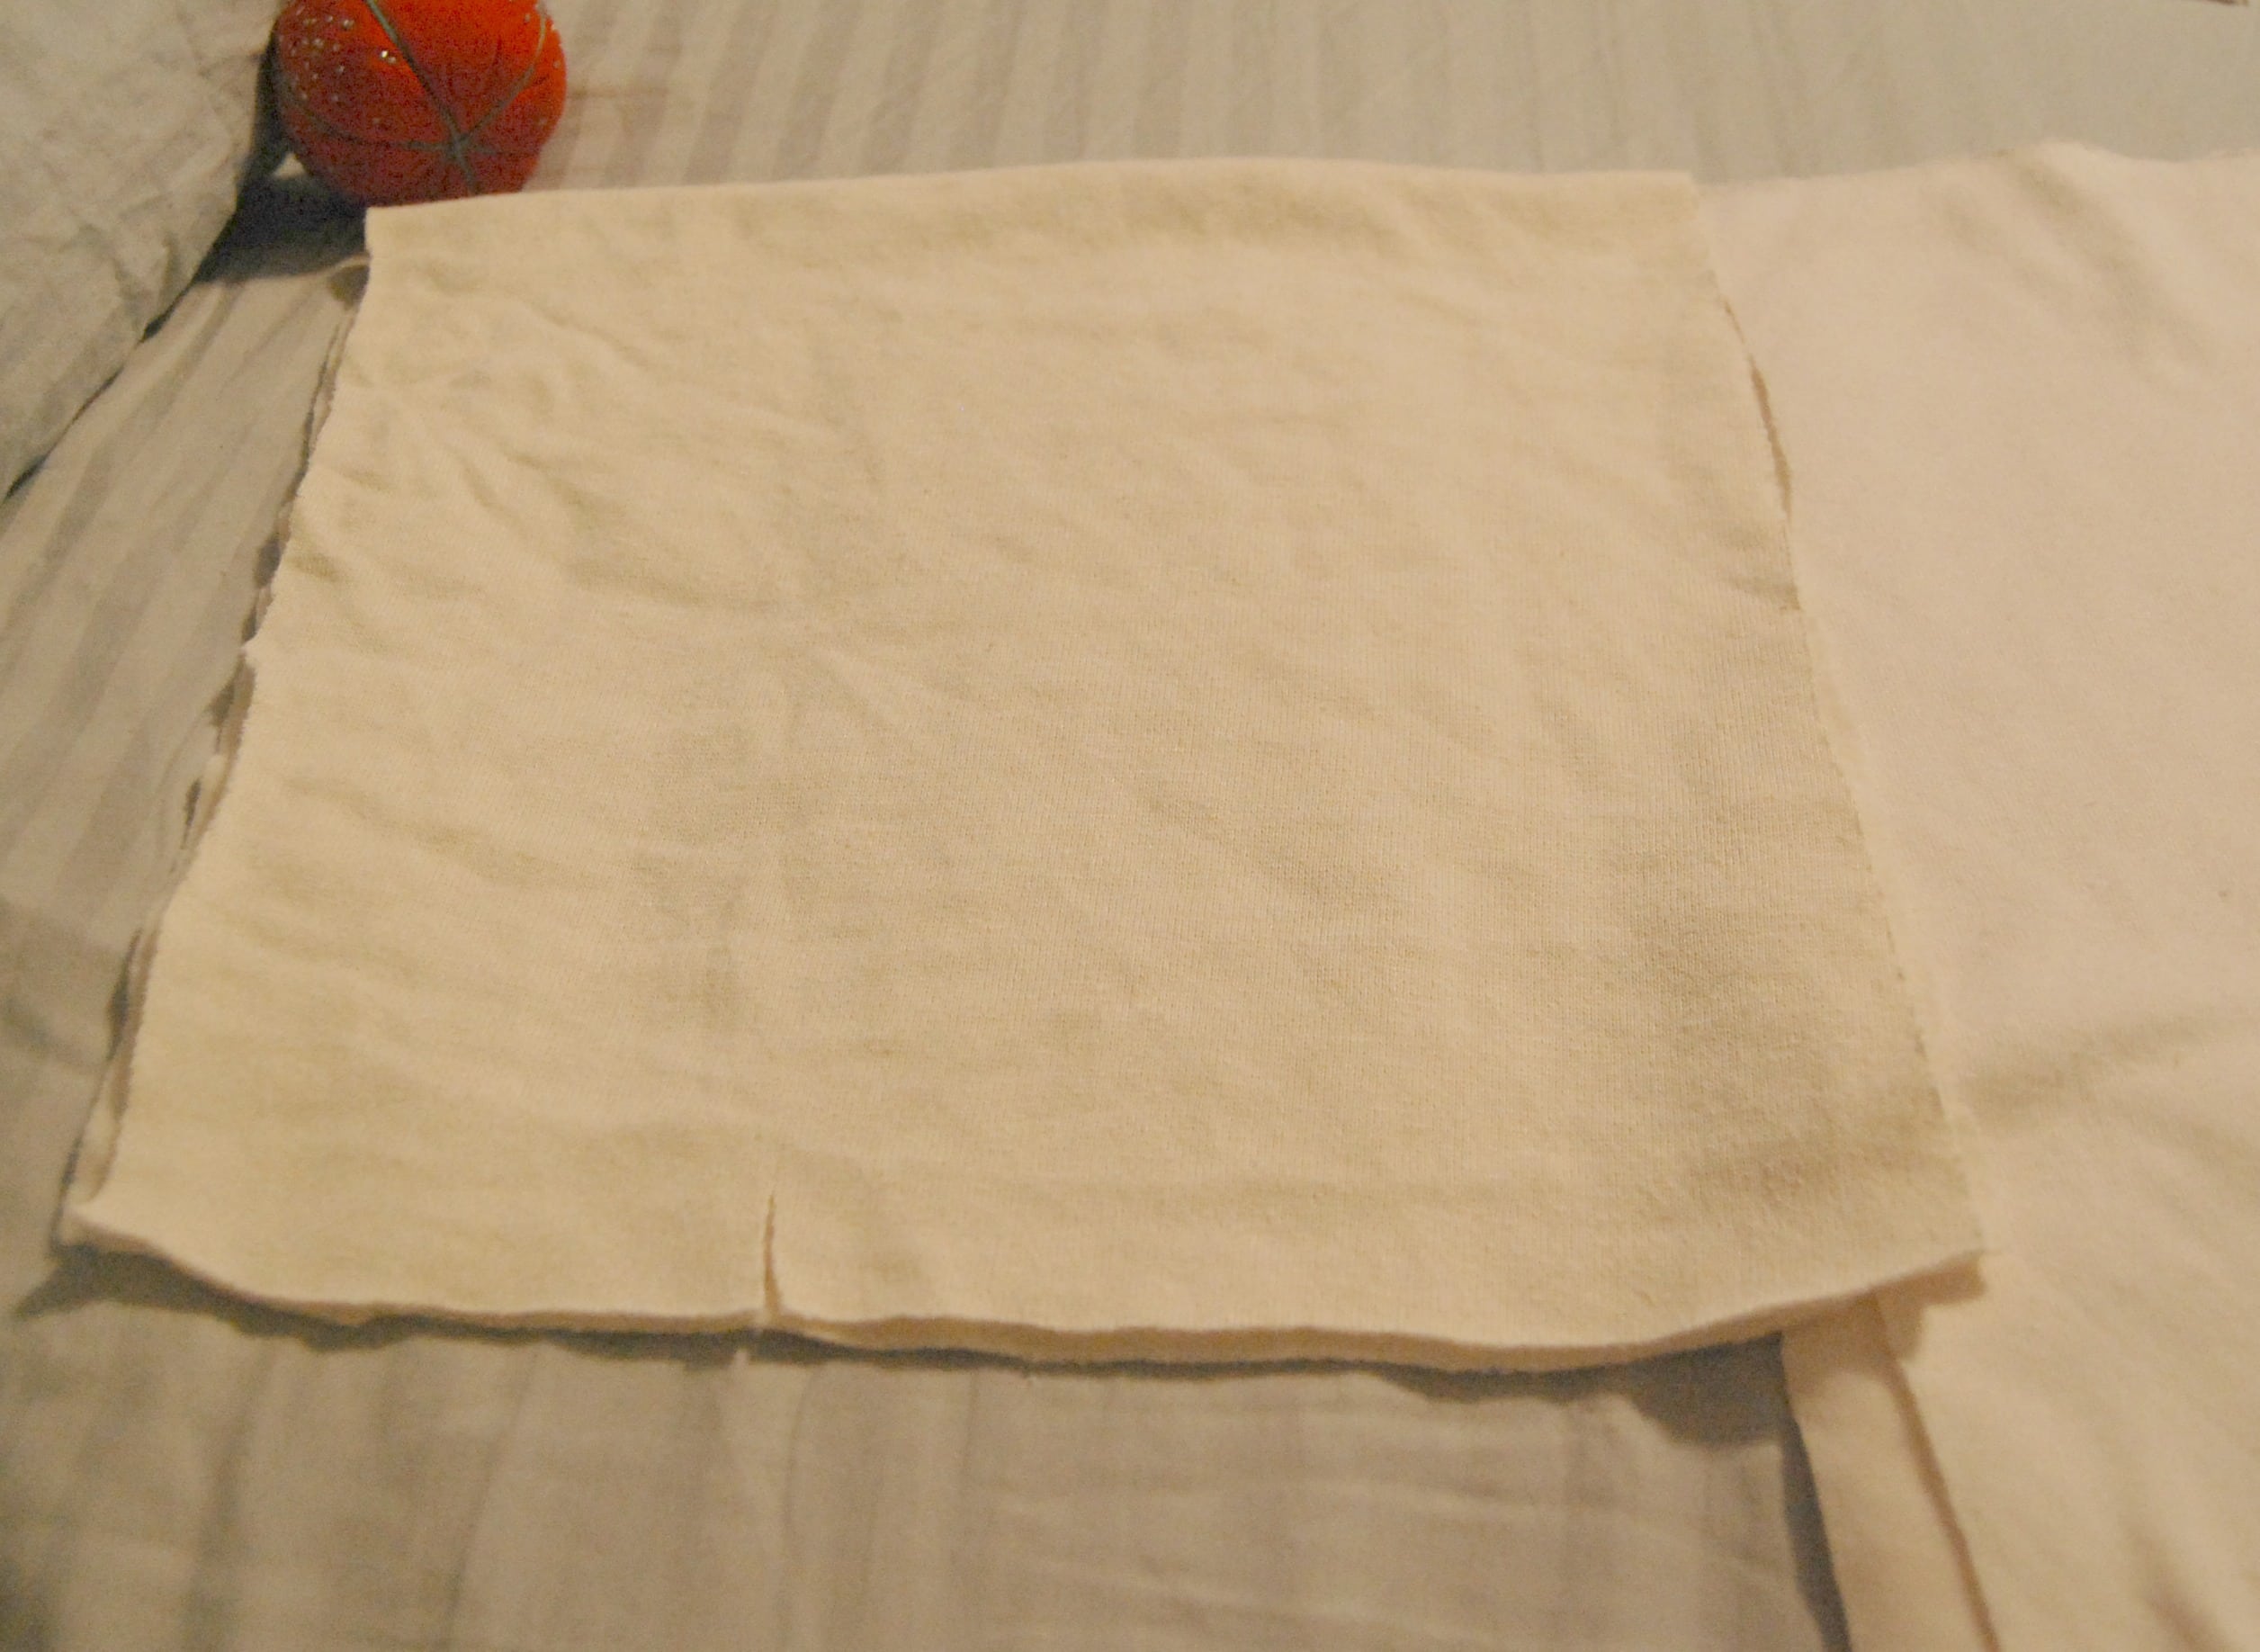
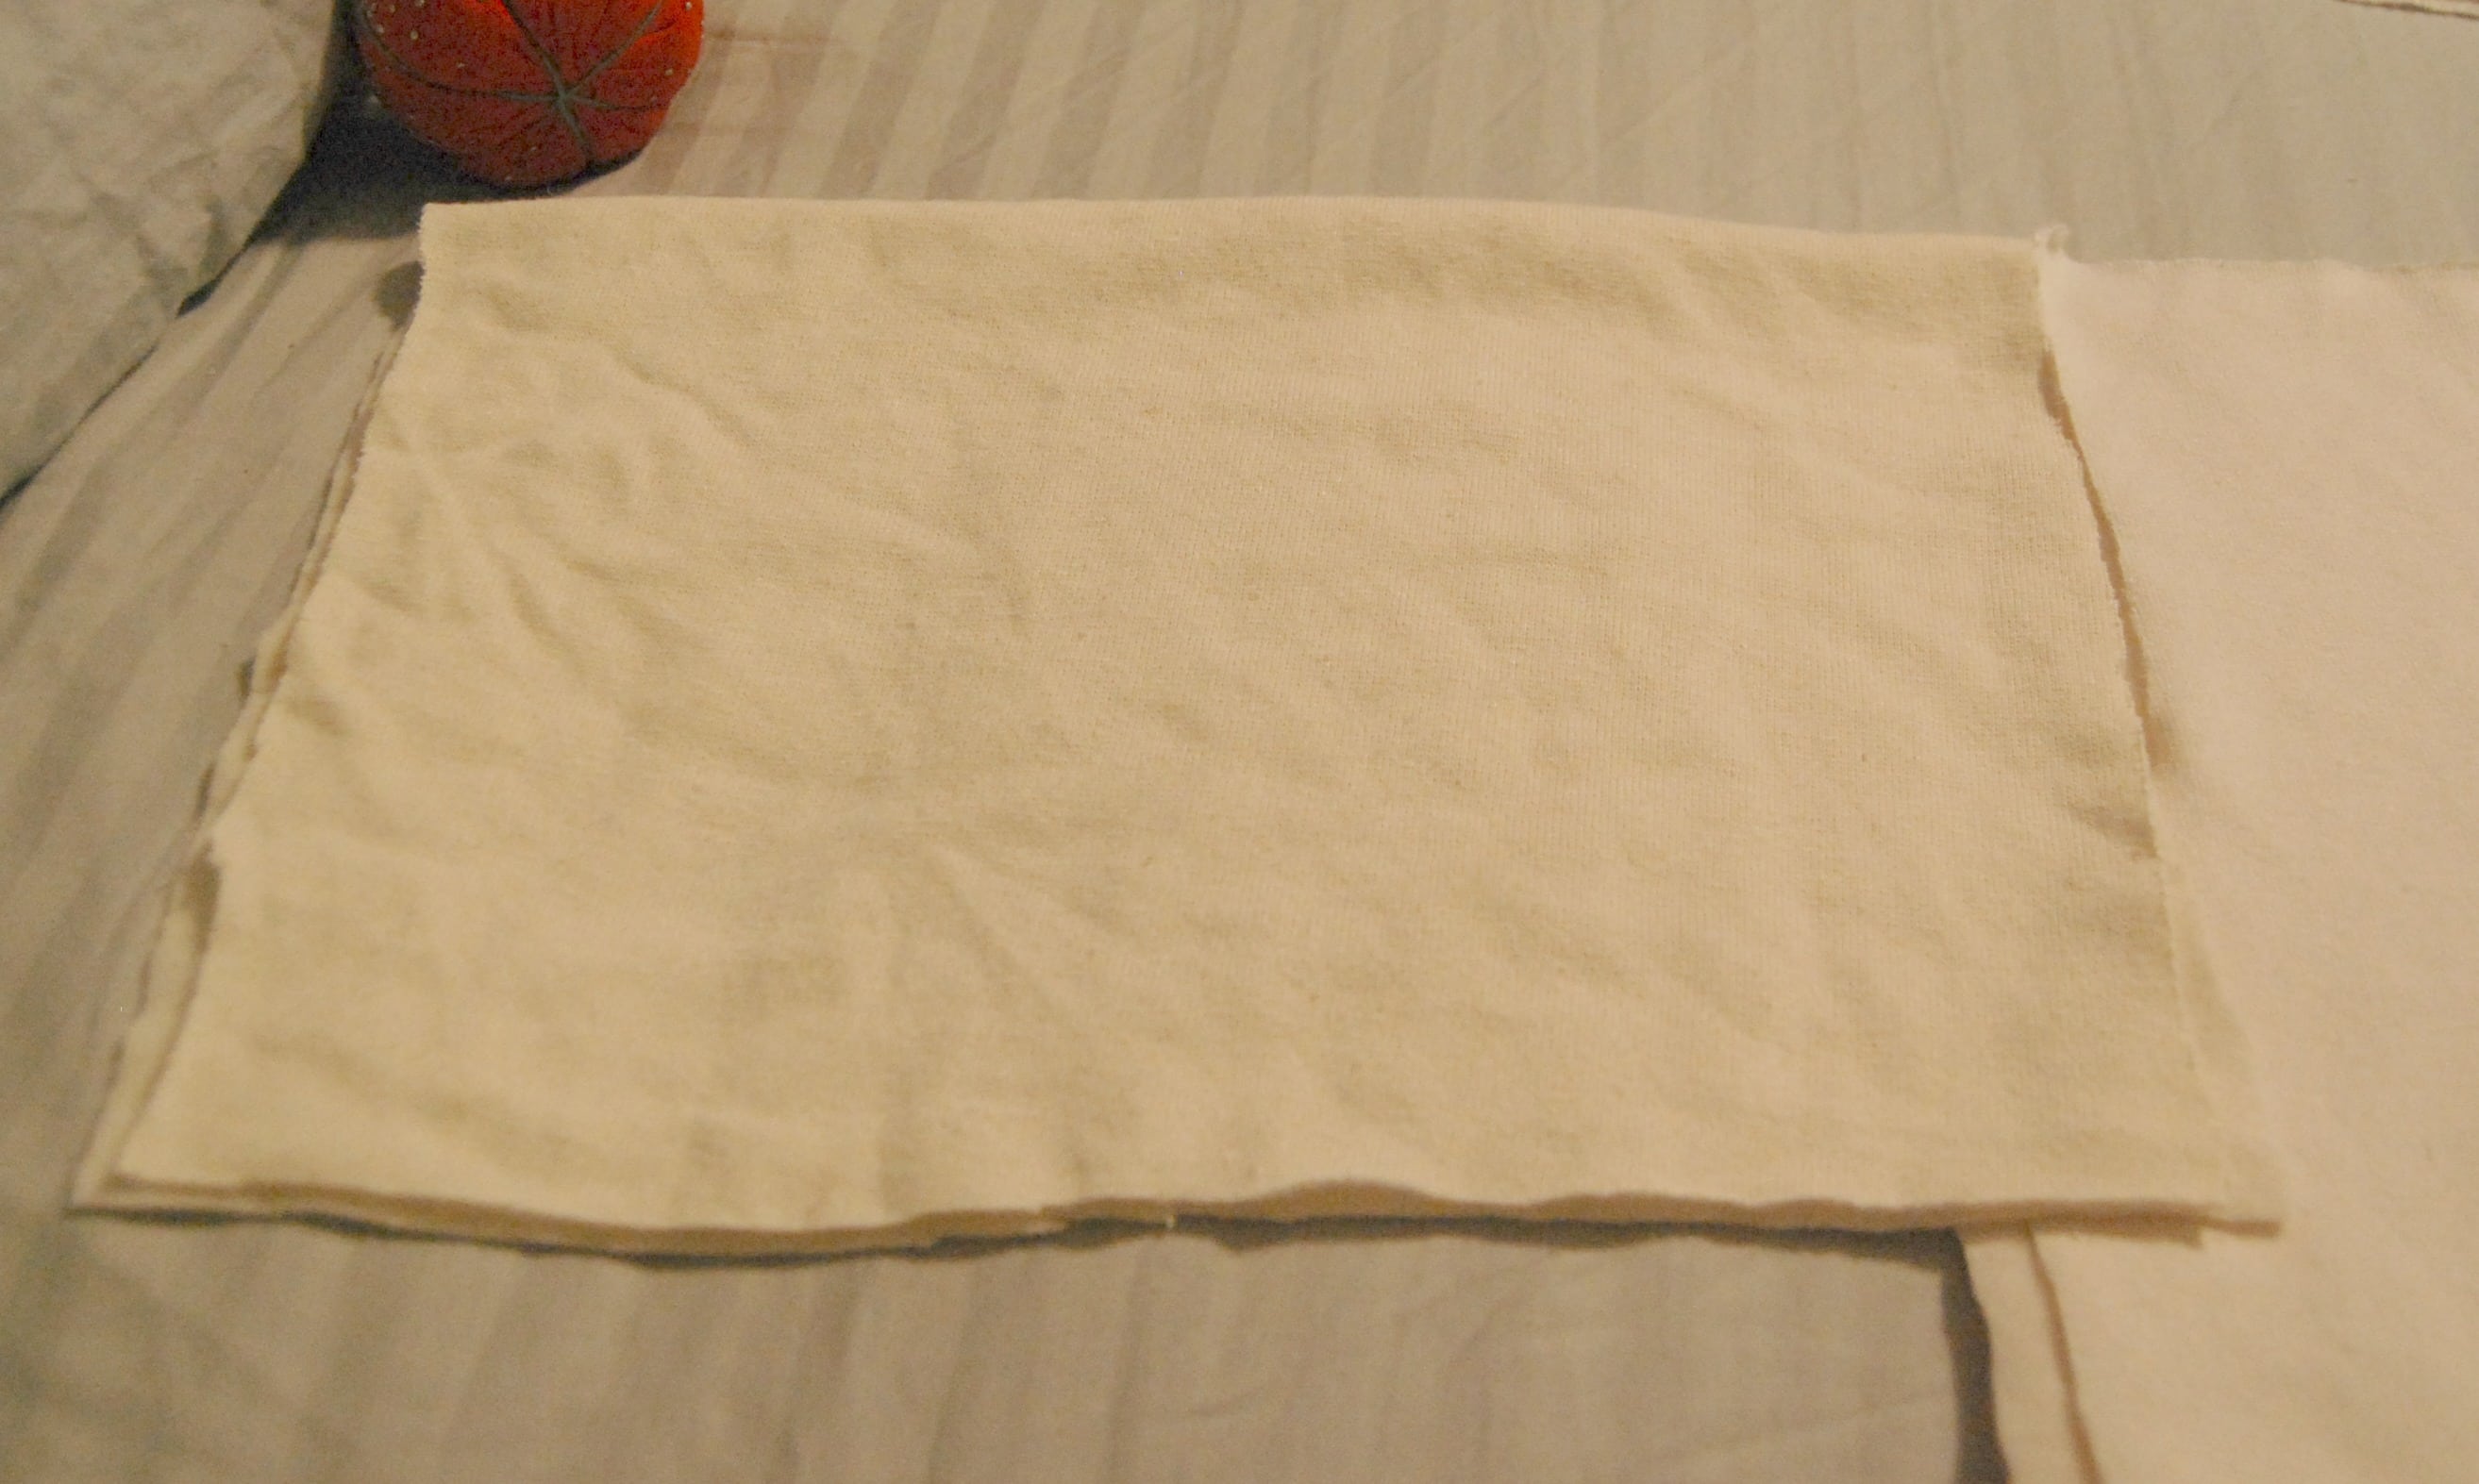
Now, cut another rectangle out of your (still folded) fabric. This does not need to be on the fold, unless you want the front to be one solid piece. Mine is not; I will be adding snaps. You could also add buttons or some sort of tie.
This rectangle should be the same length, but 2 – 3″ wider so that it overlaps. If you choose to do it as one piece, add about 1″(which will be 2″ wider once unfolded). Here is my front rectangle:
Now, take the pieces apart and lay them down, right side up. Lay the back on top of it, right side down. Cut the armholes and neckholes in the front to match the back. Here is mine laid together:

Once this is done, set the front pieces aside. Fold the back in half again. It’s time to cut the sleeves!
Take a piece of fabric and fold it in half. Put the folded edge lined up with the top of the shirt, as shown:
Now, cut it to fit the length of the arm hole, about 6″ long from the fold, down. Like this:
Now, cut along the inside (the part next to the armhole) to form a curve that fits against the armhole. It will look like this:
You now have all your pieces! That wasn’t hard to create, was it? Choose a second rectangle and cut a second sleeve that exactly matches the first sleeve. That is all you need. Then it is time to sew the shirt!
Lay the back of the shirt down, right side up. Lay the front pieces on top with the edges and shoulders lined up. The front pieces will overlap in the middle, as shown.

Pin at the shoulders and along the outsides.
Sew the shoulders:
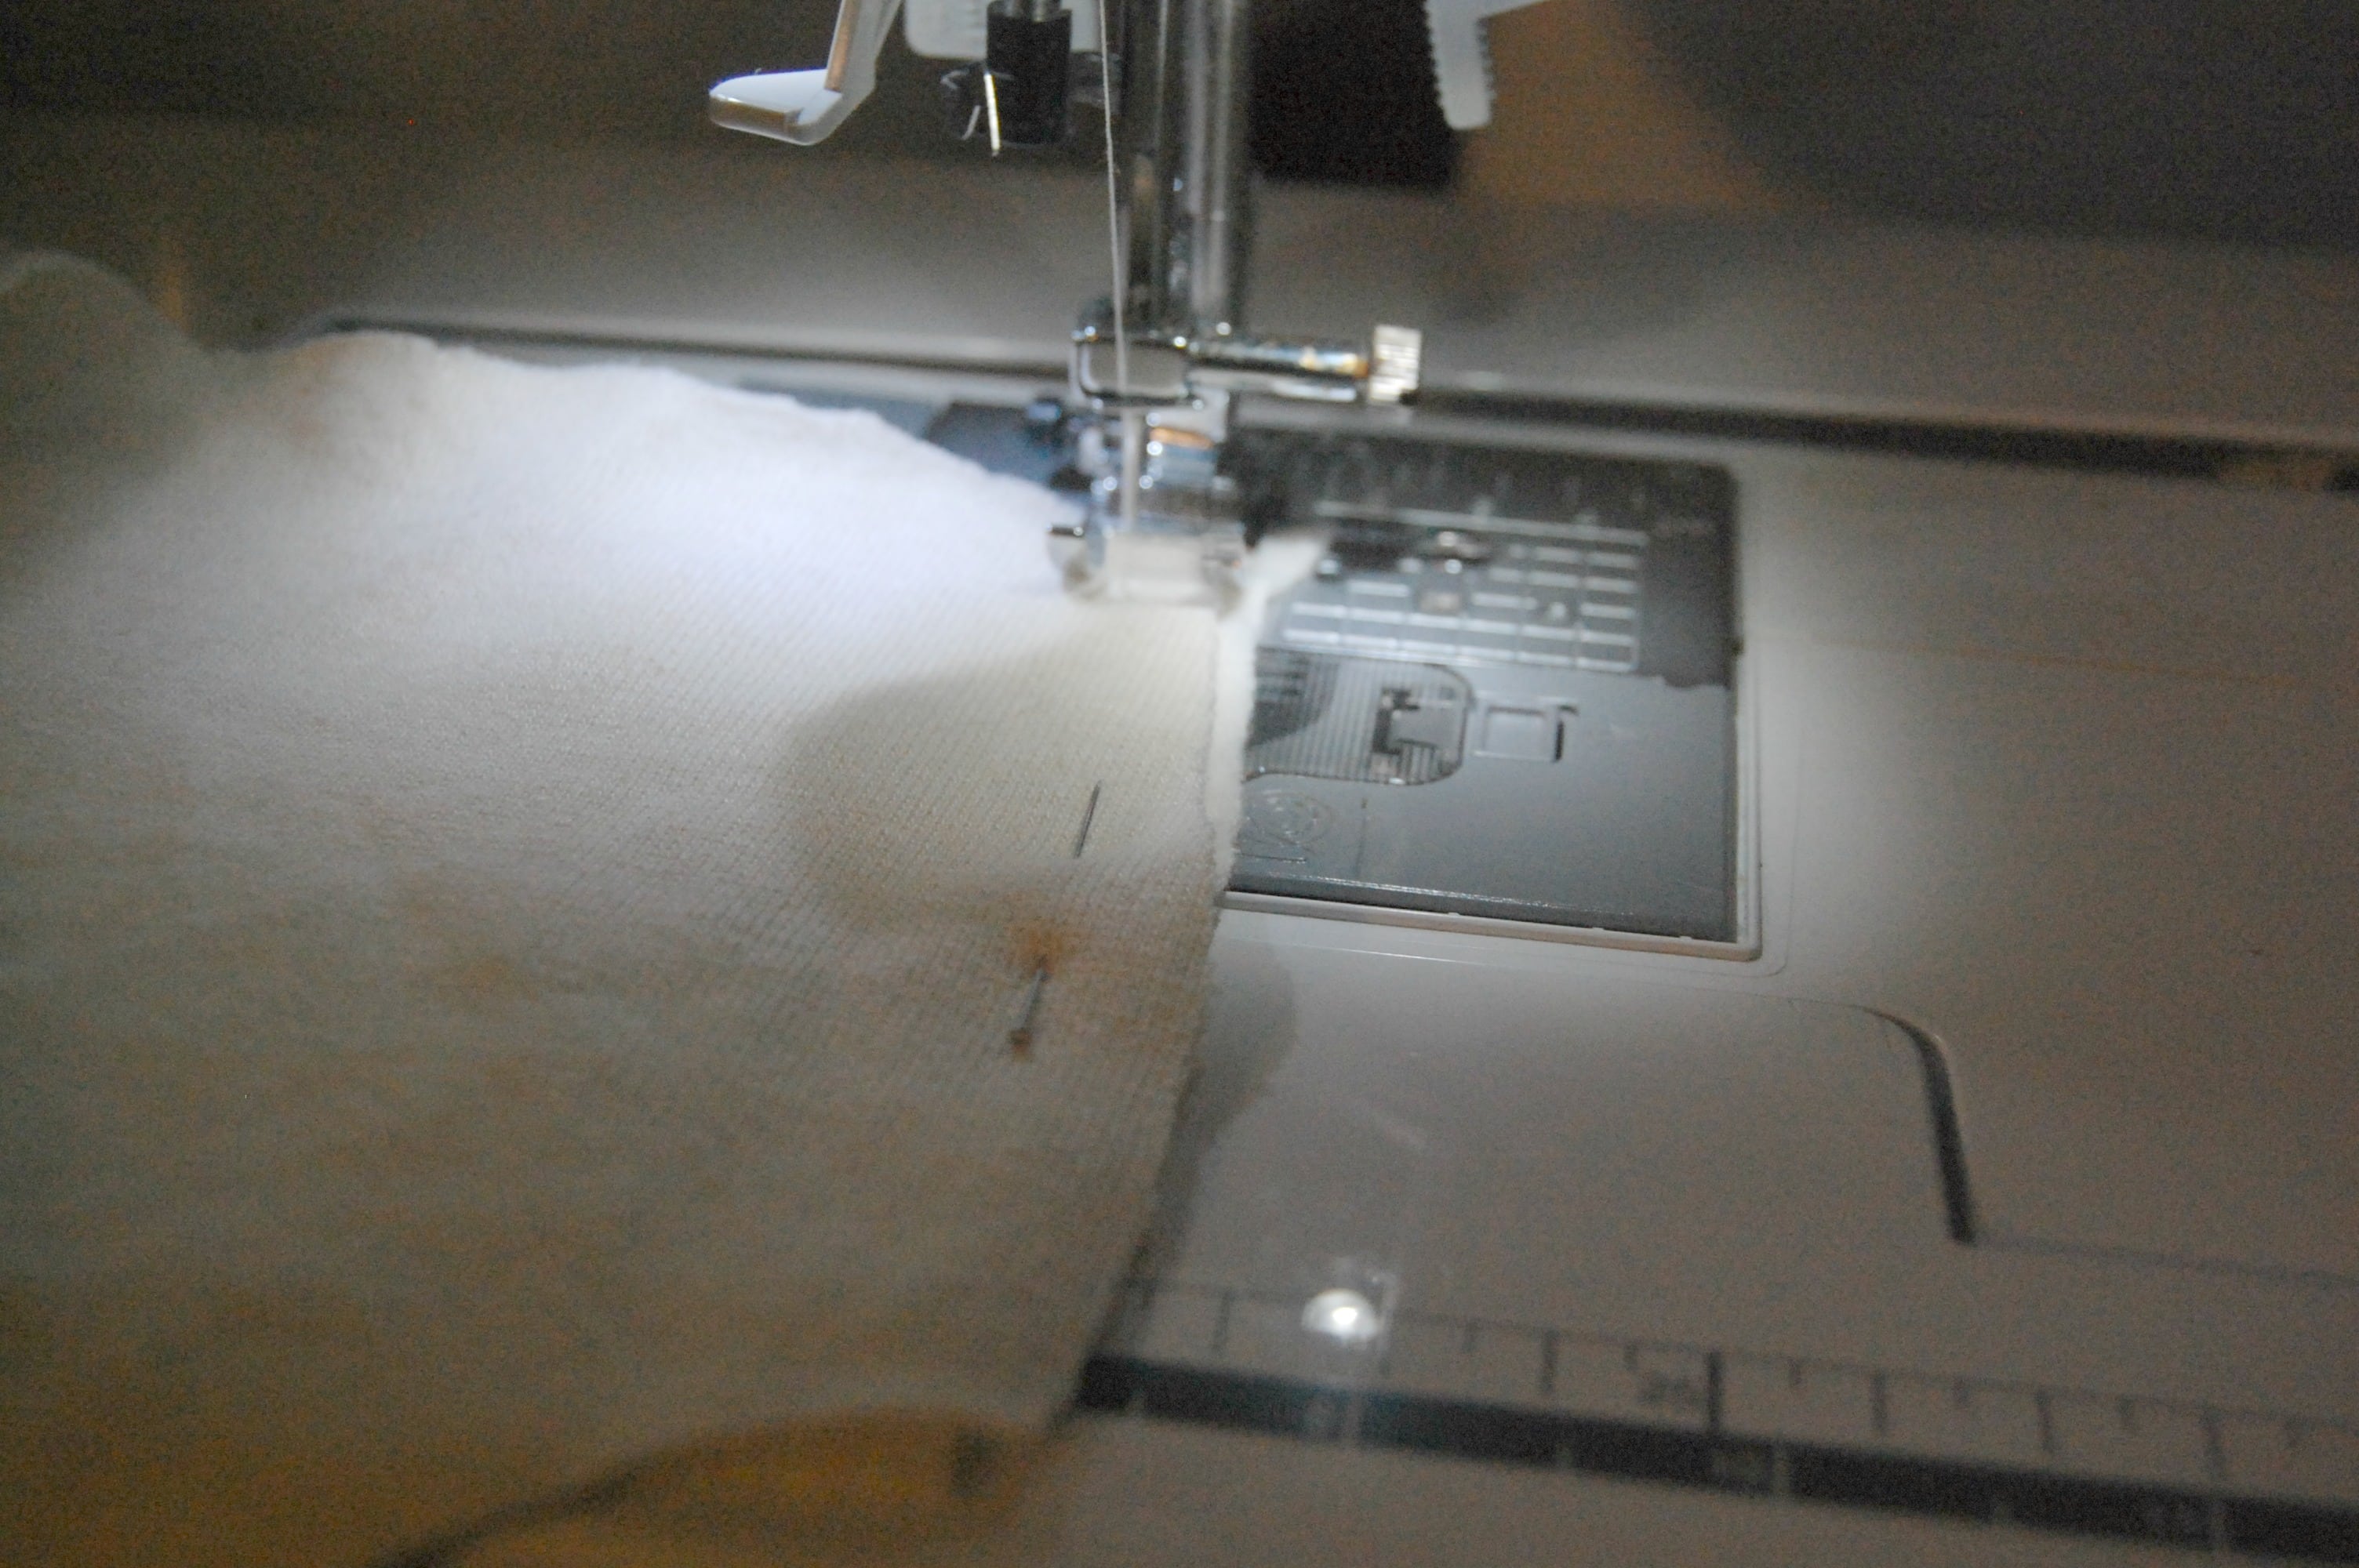
Sew along the outside edges of the shirt (below the armholes).
Then, sew the sleeves closed (along the straight side, opposite the fold). Do this to both sleeves.
Fold the sleeve back and hem the edge, like this:
It will look like this when it is done:
Line up the sleeve with the armhole. Mine doesn’t quite fit right now, but it is easy enough to adjust. Here it is lined up:
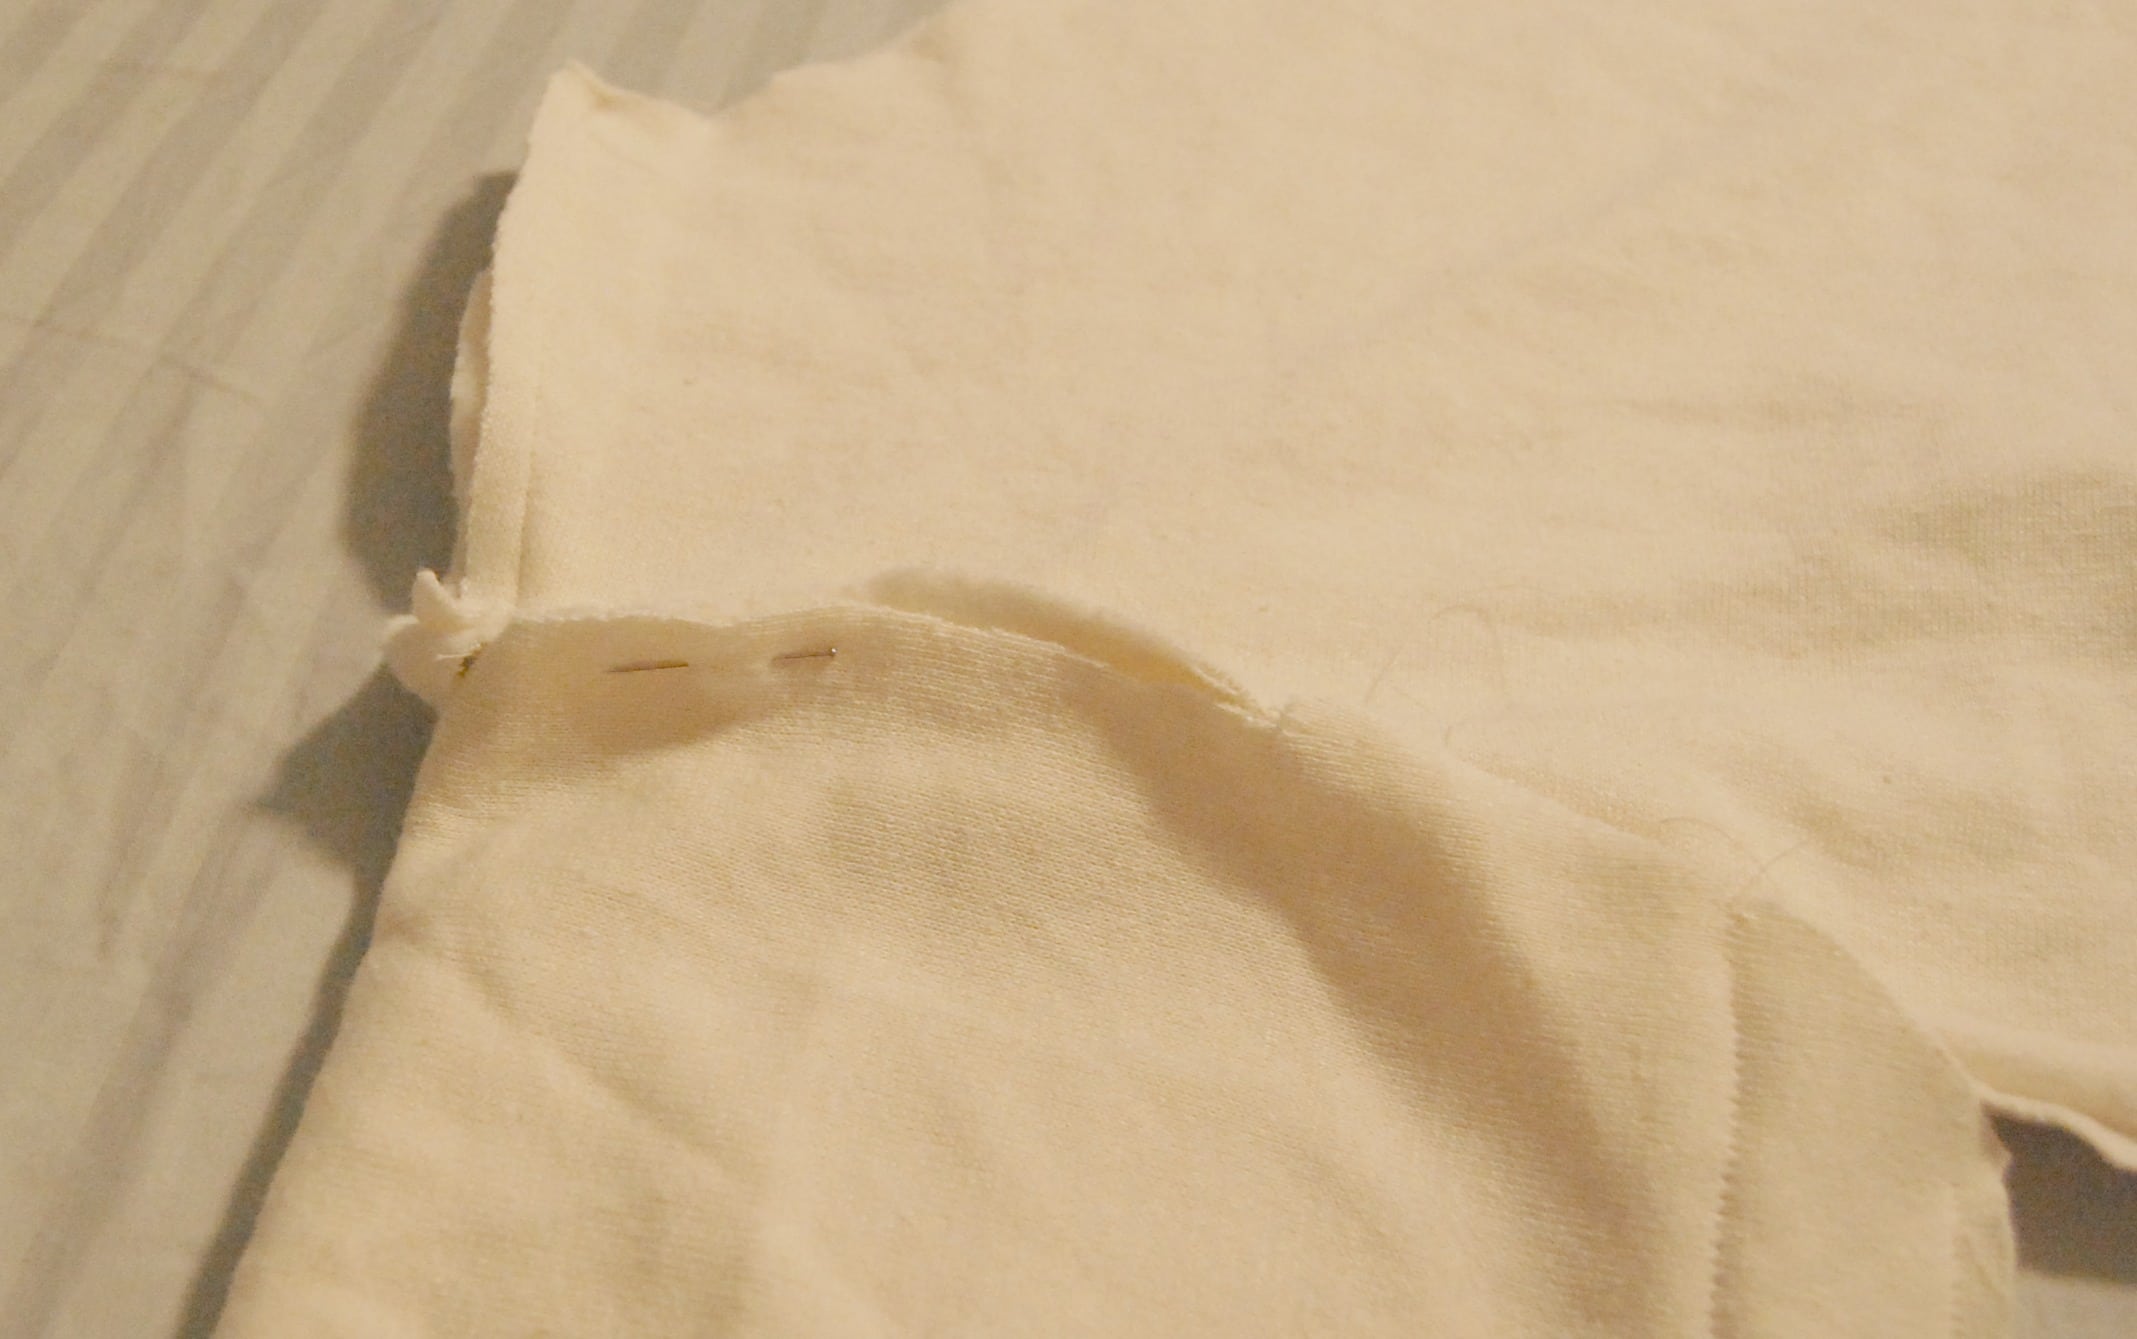
At this point, if yours doesn’t fit right, you can either cut the armhole a little bigger and adjust the seams there (re-sewing the edge after you cut), or you can sew the sleeve a little smaller. I sewed the sleeve smaller.
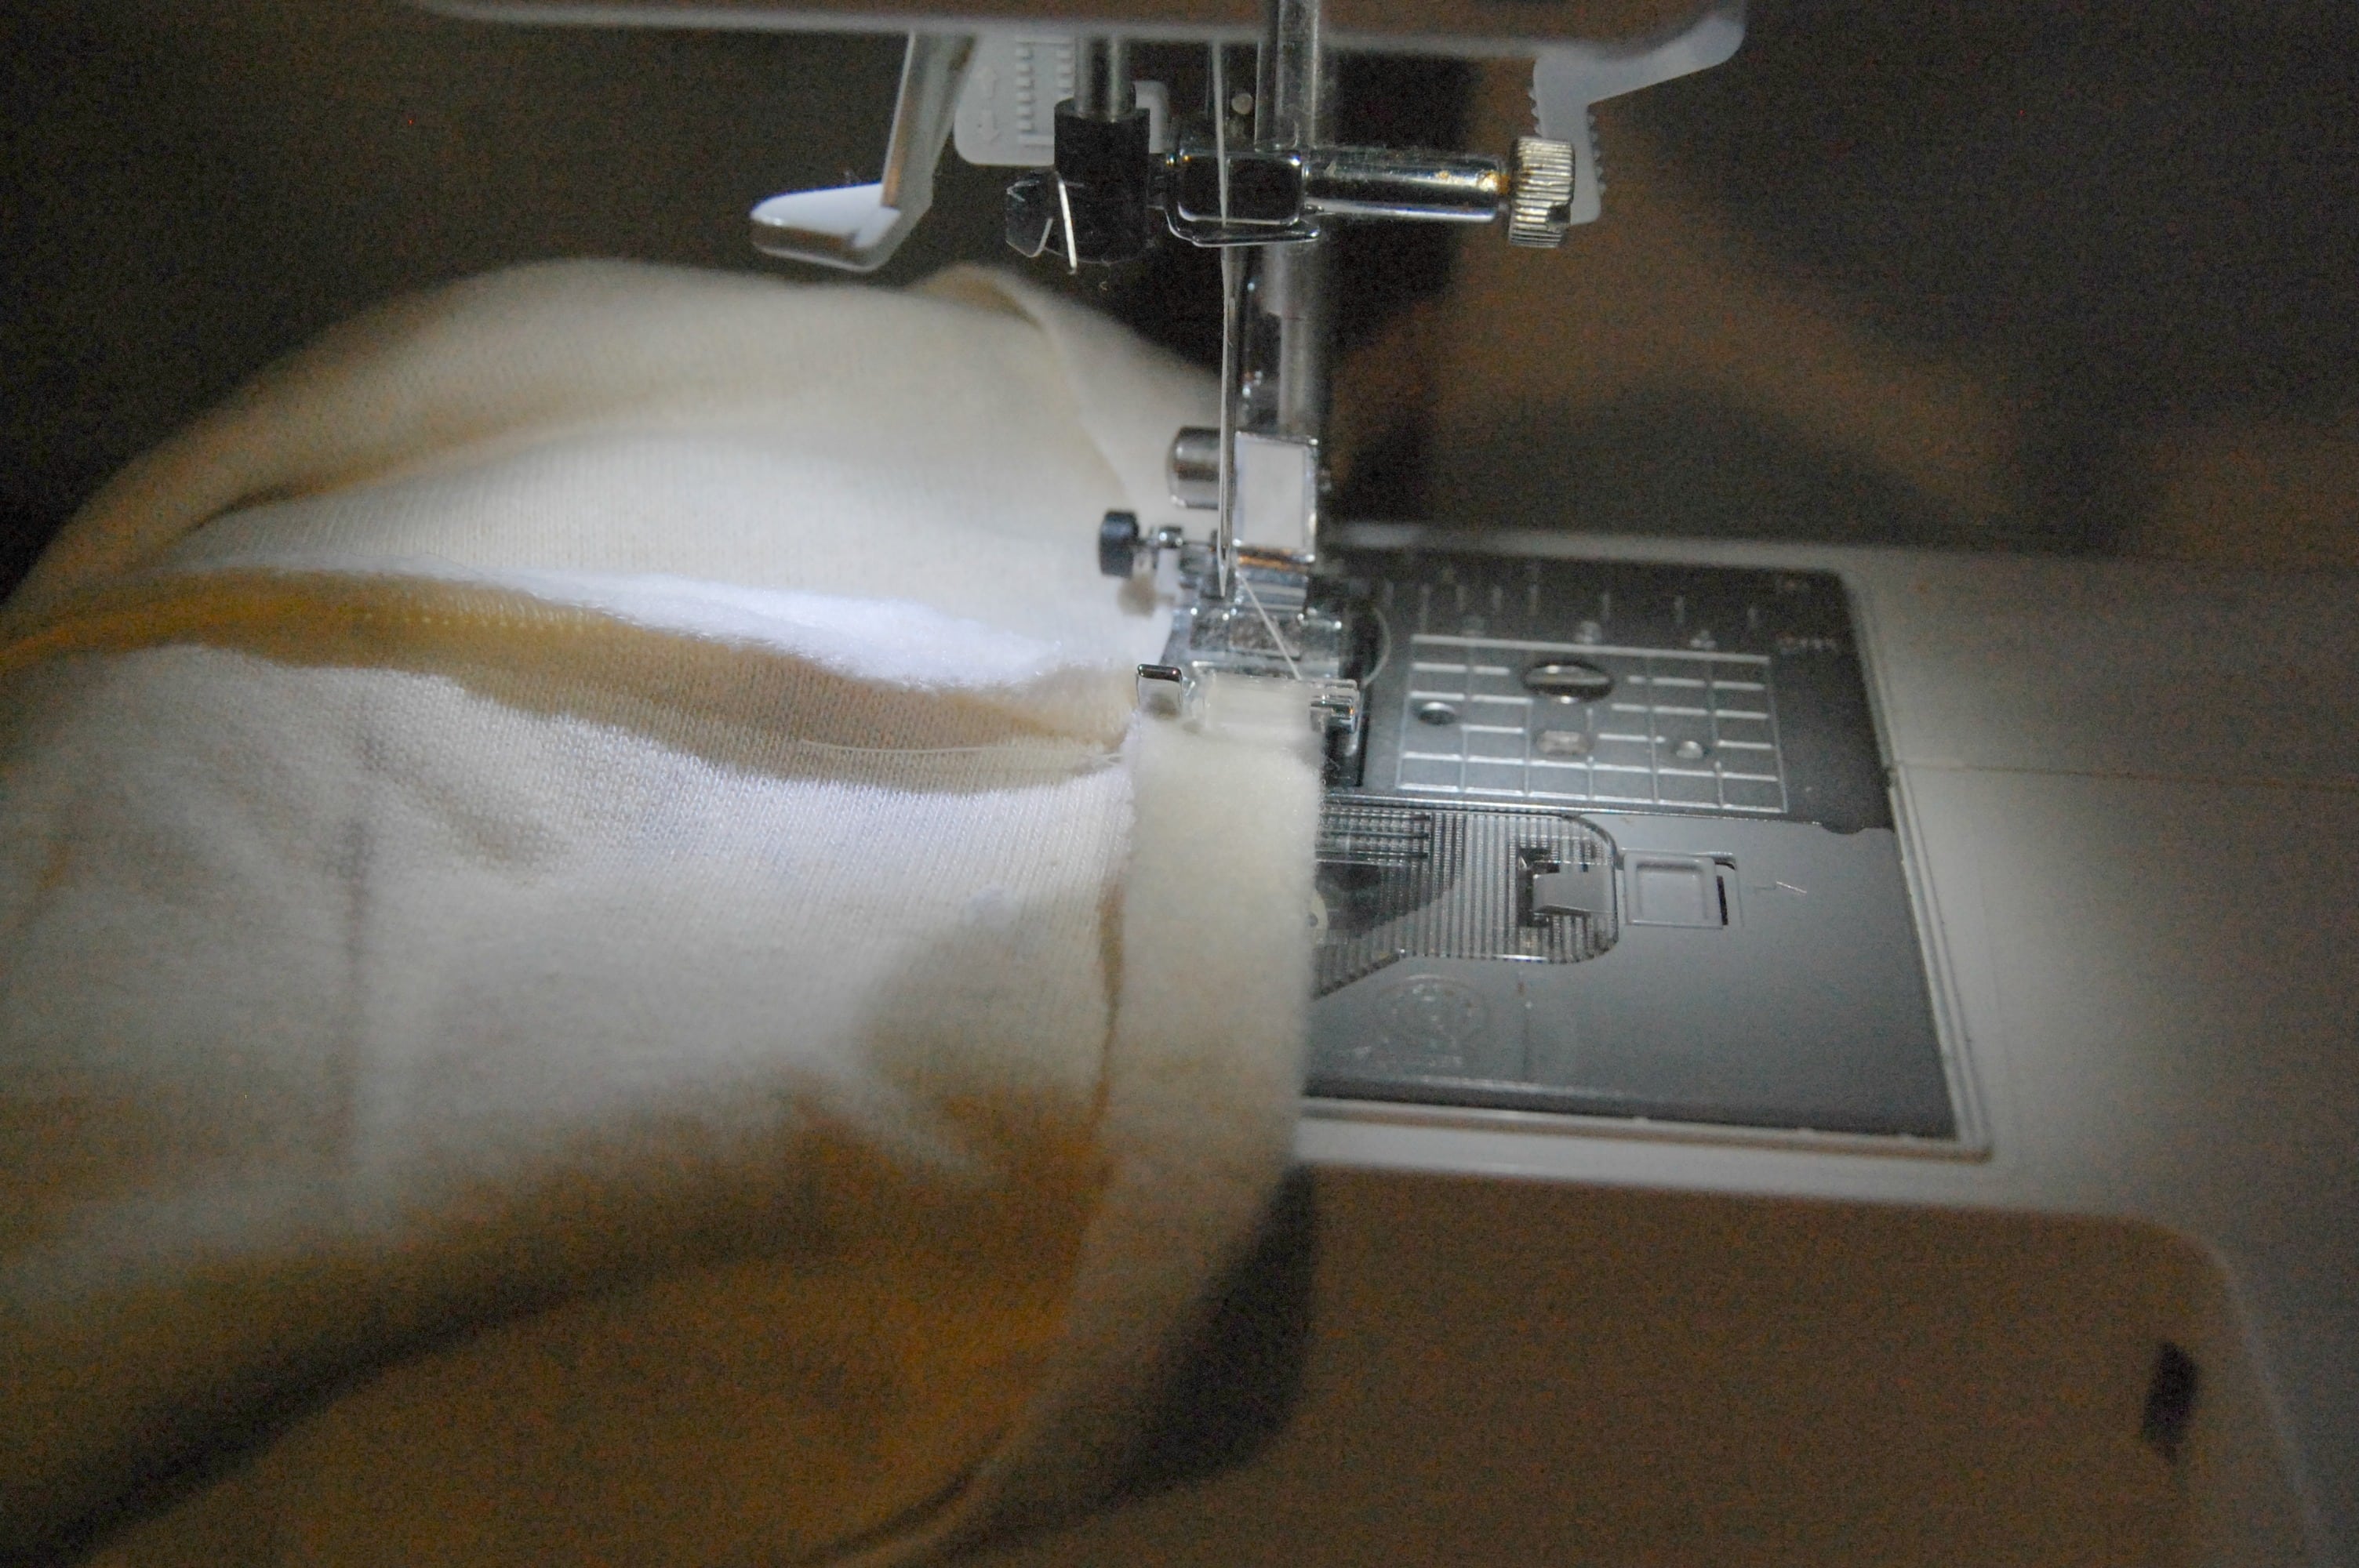
Pin the sleeve to the armhole (do this on both sides):

Sew the sleeves onto the shirt:
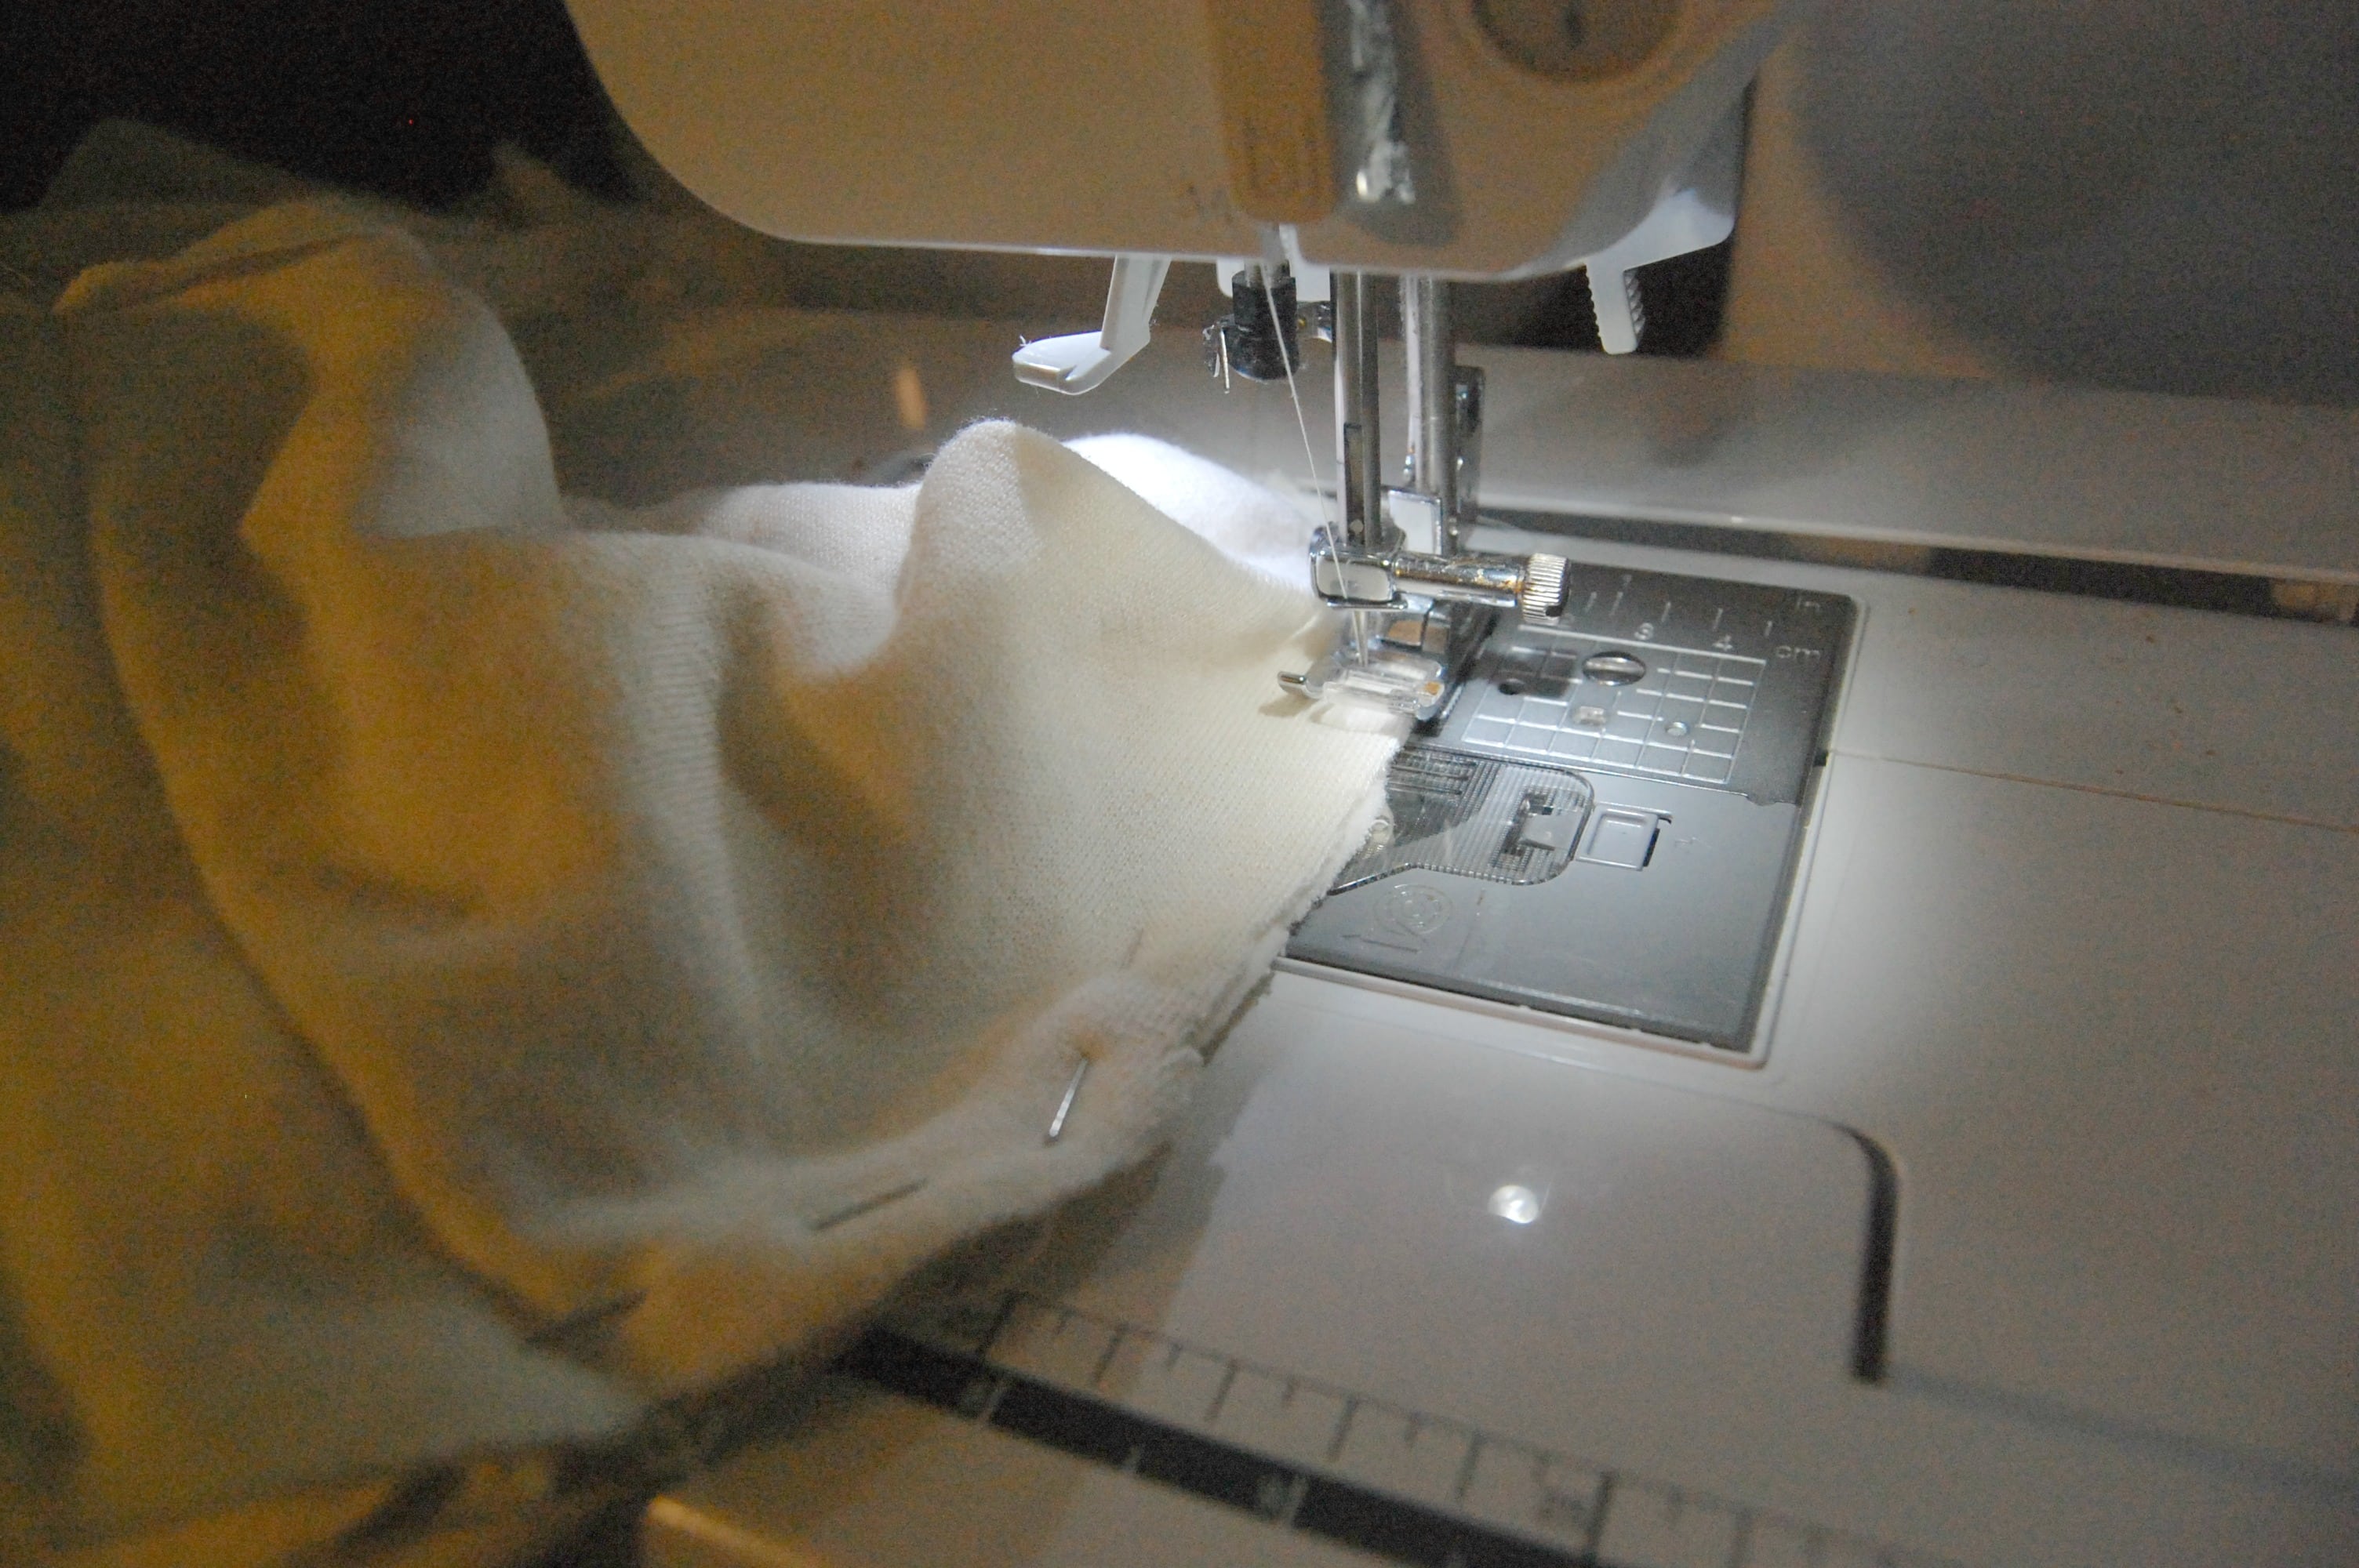
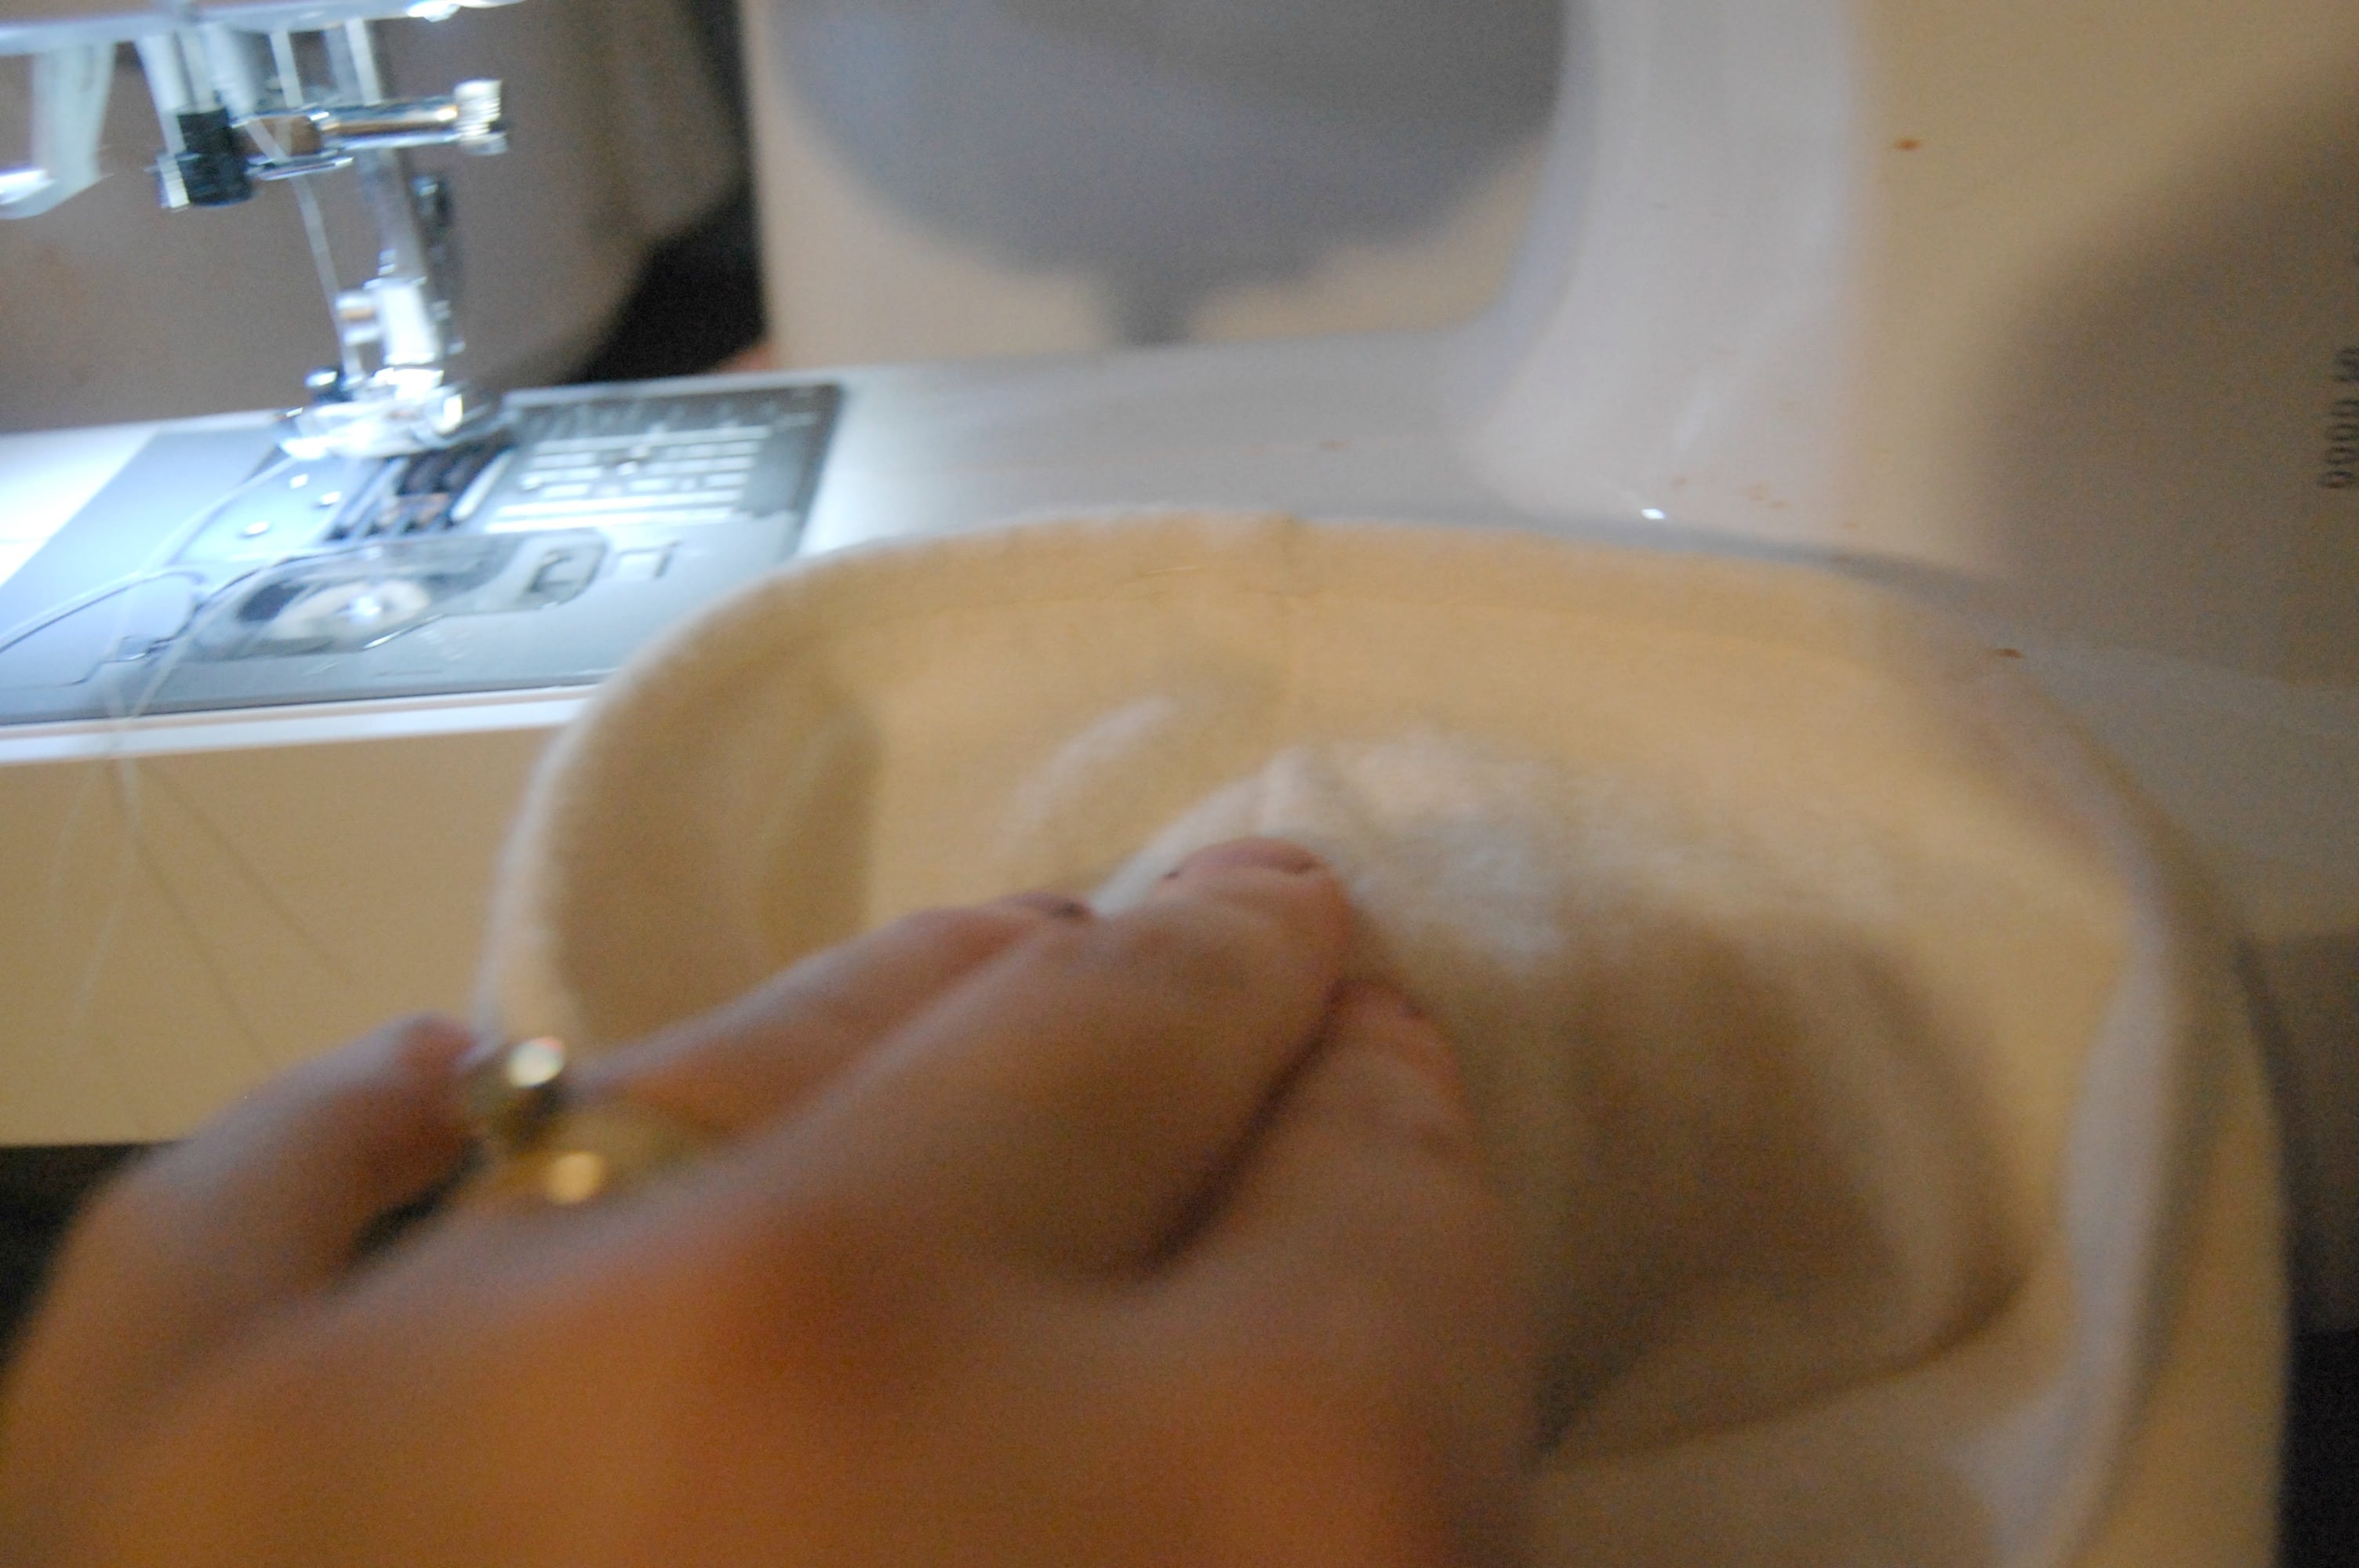
The last step is to hem all around the outside of the shirt (yes, facings would make it nicer, but this is supposed to be an ‘in the house’ type shirt! This is simpler):

Now you have a finished shirt!
At this point, you could choose to add snaps or buttons if desired, or ties, or simply leave it as is. I haven’t added anything to mine yet. I won’t model it for you because it doesn’t fit so well over my still-pregnant tummy!
I used a very similar process to make tiny night shirts for my newborn, so this method really will work for any size you want!


That's a pretty neat pattern, I like how easily it adapts to other sizes (like newborn, I wish I had known that 10 months ago :-).
I wore an old men's dress shirt both times for the birth. I've been wearing them (my dad's old shirts, actually) since i was a teenager as a nightshirt, and since they have buttons down the front, I used them for the birth and they've come in really handy for night nursing afterwards.
[…] baby arrives, I’ll be sitting in bed for at least a few days. This post-birth gown, which I sew (but there are places you could buy them, I think) is very loose and very short. […]