Written by Kate Tietje
Bread is something my family loves. And sourdough is the healthiest way of making your bread (and it’s honestly pretty easy, too).
When you ferment the grains and water as a sourdough starter, it breaks down the wheat’s phytic acid, making it more digestible. Some people with sensitivities to wheat or gluten (not celiac, but sensitivity) can eat sourdough bread when they can’t eat regular wheat. The fermentation process also makes key minerals more bio-available.
One of the problems with regular wheat is that it binds with zinc, magnesium, and other minerals in your gut, which can leave you deficient. Sourdough doesn’t have that problem. That’s why it’s so good for you.
Of course, sourdough is also yummy! And versatile. Sourdough starters can be used to bake loaves of bread, make pitas and other flatbreads, pancakes, muffins, and even cakes. No, it doesn’t always have to be sour.
But! Today, we will focus on a very basic loaf of bread. A loaf that is soft on the inside and crusty on the outside. A loaf that is incredibly simple, delicious, and frugal. I’ve been making them three at a time every couple of days. They freeze well, so it’s my goal to freeze at least two and let them eat the other — believe me, it doesn’t last long.
Sourdough Starter
Before making this recipe, you will need a healthy, active sourdough starter. You really need a quality starter culture to get it going. Ask a friend, look online for people who will share for free or the cost of shipping, or buy through Cultures for Health. I failed at creating a successful starter more than half a dozen times. Finally, I broke down and got a starter culture. Since then, I’ve been baking with it successfully for more than a year.
The two biggest mistakes people make with their sourdough starter are not feeding it often enough and keeping it too thin.
Your starter works because the live, wild yeast in it is eating the grains and breaking them down (and in the process, creating gases that are trapped air bubbles, causing the rise). If you do not feed the yeast often enough, they start to die. They are not healthy.
When you’re baking actively, your starter should be fed twice daily (morning and evening). Feeding once a day will maintain the starter so that it doesn’t die, but it won’t have the power to raise bread. You could still use this starter for flatbreads or other projects that don’t need to rise much, but don’t try a loaf of “real” bread, or you’ll be disappointed.
Thickness matters because your starter needs to trap the gases being produced — that’s how it rises. If the starter is too thin, the gases will escape, and the starter will not rise. I like to make mine almost like a soft dough, not a batter. The thicker it is, the better it rises.
If you’re struggling with your starter, follow these steps for success: DIY: How to Make a Sourdough Starter.
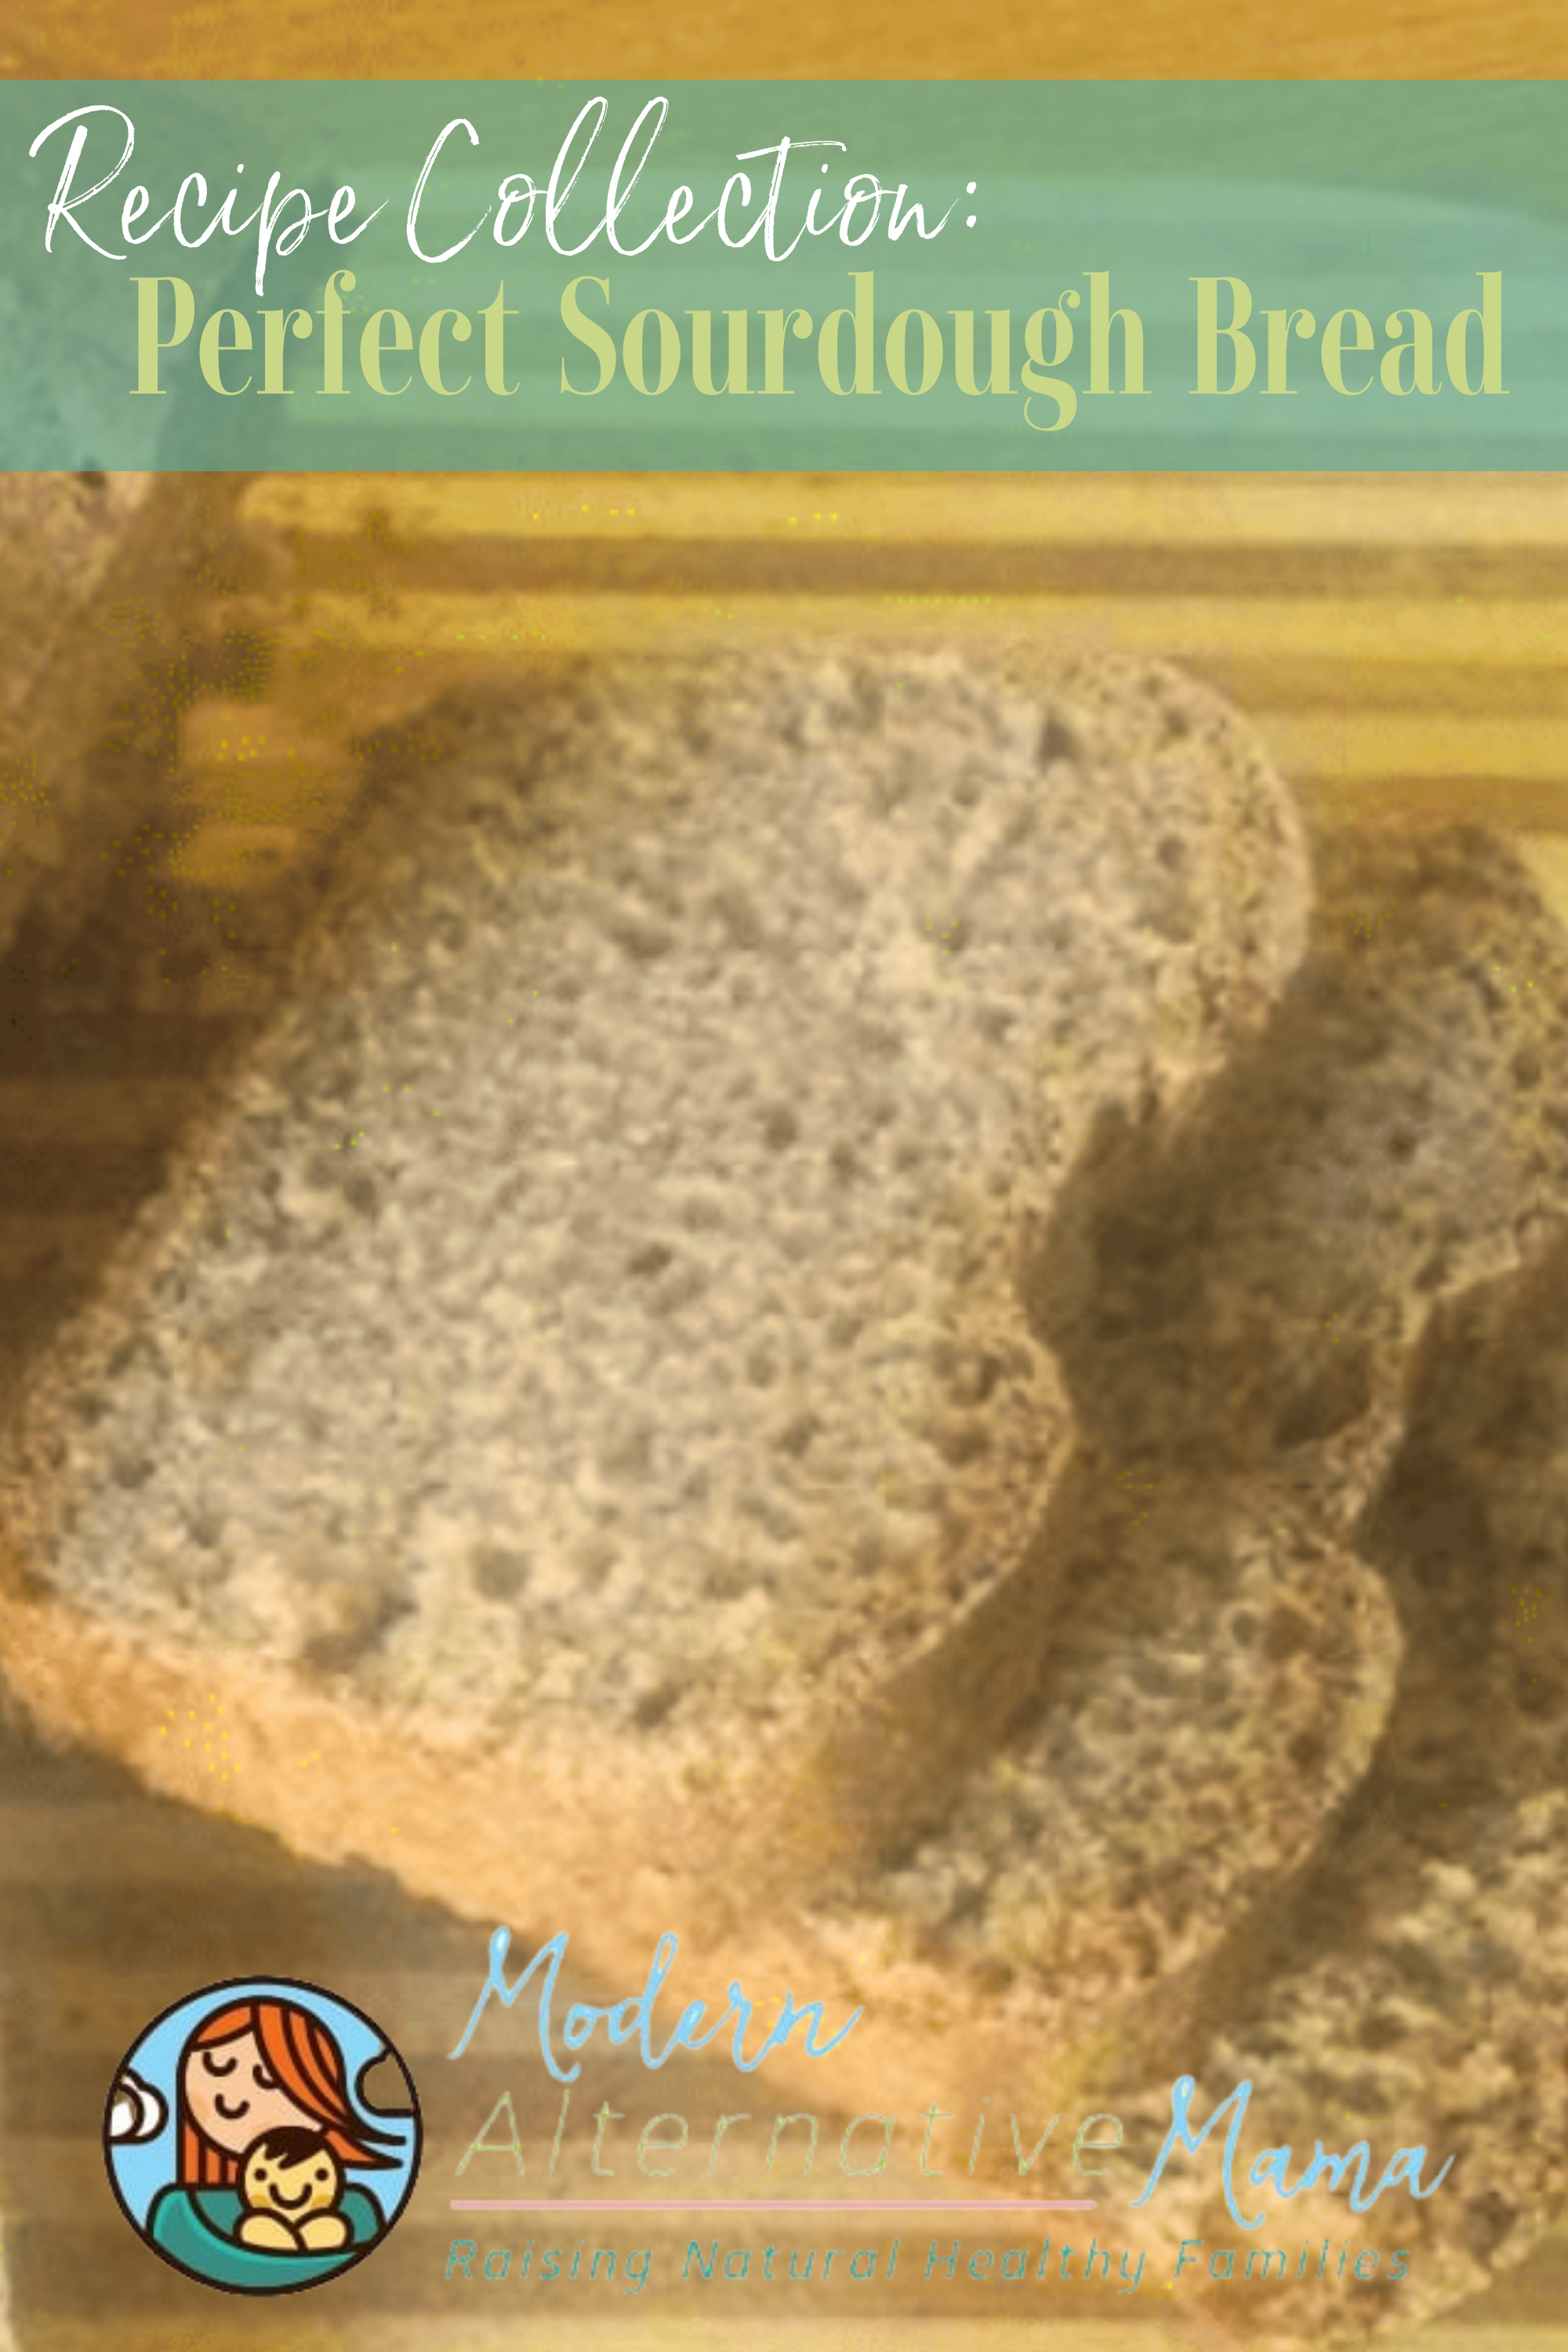
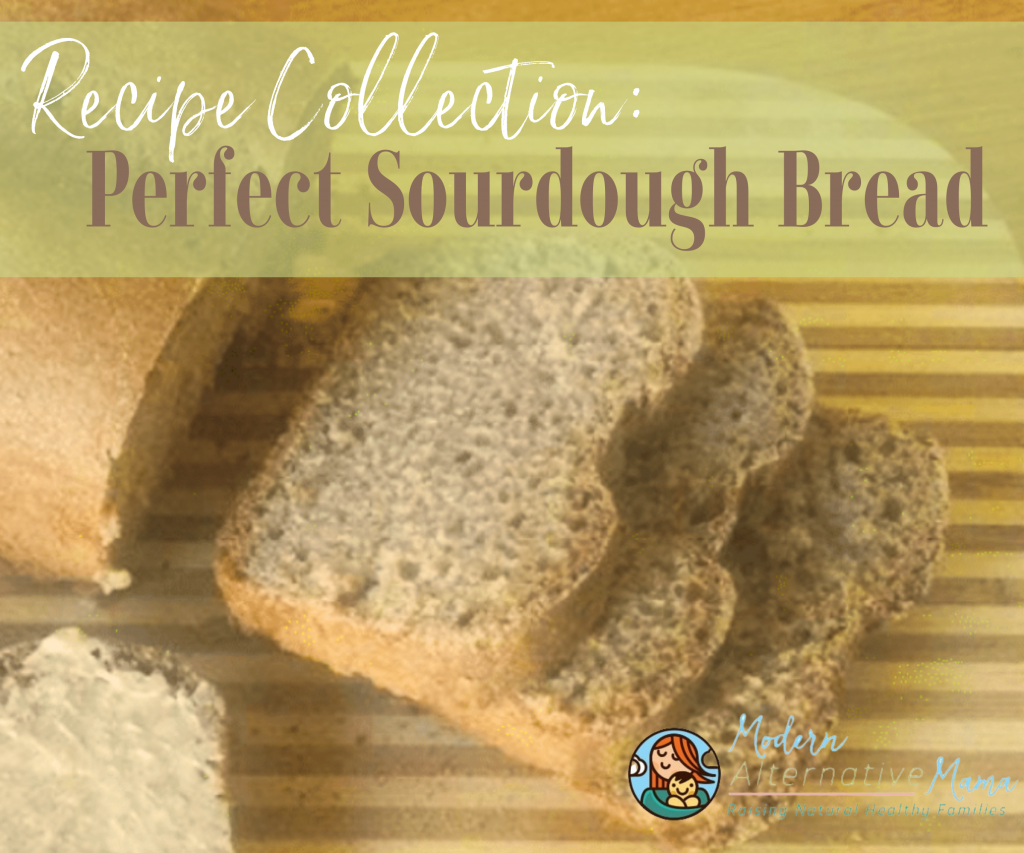
Perfect Sourdough Bread
The most basic sourdough bread contains only three ingredients: flour, water, and salt. That’s why it’s so frugal. Many breads use milk, butter, sugar or honey, and eggs — these ingredients drive up the cost significantly. Flour, water, and salt are cheap.
Yet, because the sourdough starter’s yeast consumed the grains, the resulting loaf is still tender and soft. It’s completely different than bread baked with commercial yeast. But I promise it is simple.
Ingredients:
- 3/4 cup sourdough starter
- 1 cup water
- 2 tsp. sea salt
- 3 – 4 cups flour
These are the amounts for 1 loaf. I typically triple this and it just barely fits in my 6-quart Kitchen Aid.
Directions:
Step 1: In a stand mixer (ideally), add your starter, water, and sea salt. If you don’t have one, you can do this by hand, but you will want to either grease or flour your hands because this will get sticky. Start with a spoon for now.
Step 2: Add your flour, about 1/2 cup at a time, with the mixer running on low. Or, stir the flour in by hand.
Step 3: The dough has enough flour when it comes together in a ball and is being kneaded rather than “stirred.” You’ll see it pull away from the sides and stay together. At this point, you will need to use your hands to knead the bread.
Unlike commercial yeast breads, sourdough won’t be smooth and elastic. It will still be sticky even when it is done. This is perfectly fine…but messy to work with. I do actually prefer to do commercial yeast bread by hand even though I have a mixer, but I choose to use the mixer for sourdough.
Step 4: Knead the bread for about 10 minutes — slightly less with the machine and maybe a bit more by hand.
Step 5: Shape the bread into a loaf and put it into a well-greased loaf pan. Cut a slit about 1/2″ deep down the center to tell the bread where to expand.
Step 6: Allow the bread to rise at room temperature for 8 – 12 hours. I sometimes start it around breakfast time and bake it just before dinner. Or, I’ll start it before I go to bed and bake in the morning. This is a good project to do overnight (and if you turn the oven on first thing in the morning and then get dressed, you could have fresh bread for breakfast…even if you have to go to work), or it can rise all day while you are at work and you get freshly baked bread for dinner. Unlike commercial yeast, it won’t finish in an hour or two and then start deflating. And it doesn’t need a second rise. It’s great for busy people.
Step 7: Bake at 350ºF for about an hour. Sometimes I preheat the oven, sometimes not. It’s pretty forgiving; I actually think it came out with a better texture and browner crust when I put the bread into a cold oven and then turned it on (You could let it rise in the oven, uncovered, and then simply turn the oven on without disturbing the bread at all So easy.)
Step 8: Allow the bread to cool for 15 – 20 minutes, then slice. It will fall apart a bit if you slice it while hot, but once cool, it slices beautifully and holds together. If your pan is well-greased, it should pop right out. I often don’t even wash my loaf pans if I’m going to bake again within a day because the pan is already mostly clean.
That’s it! Then serve. Or cool completely, slice, and freeze. Make sure it is well-wrapped for the freezer. Since the ends of the bread tend to be a bit hard (and I now have a kid who doesn’t like crust — weird kid), I sometimes turn them into bread crumbs and save the crumbs that happen as I slice the loaf. Keep these in a bag in the freezer for meatloaf or other projects. Healthy, natural breadcrumbs!
Perfect Sourdough Bread
Ingredients
- 3/4 cup sourdough starter
- 1 cup water
- 2 tsp. sea salt
- 3 - 4 cups flour
Instructions
- In a stand mixer (ideally), add your starter, water, and sea salt. If you don't have one, you can do this by hand, but you will want to either grease or flour your hands because this will get sticky. Start with a spoon for now.
- Add your flour, about 1/2 cup at a time, with the mixer running on low. Or, stir the flour in by hand.
- The dough has enough flour when it comes together in a ball and is being kneaded rather than "stirred." You'll see it pull away from the sides and stay together. At this point, you will need to use your hands to knead the bread.
- Knead the bread for about 10 minutes — slightly less with the machine and maybe a bit more by hand.
- Shape the bread into a loaf and put it into a well-greased loaf pan. Cut a slit about 1/2" deep down the center to tell the bread where to expand.
- Allow the bread to rise at room temperature for 8 - 12 hours. I sometimes start it around breakfast time and bake it just before dinner. Or, I'll start it before I go to bed and bake in the morning. This is a good project to do overnight (and if you turn the oven on first thing in the morning and then get dressed, you could have fresh bread for breakfast...even if you have to go to work), or it can rise all day while you are at work and you get freshly baked bread for dinner. Unlike commercial yeast, it won't finish in an hour or two and then start deflating. And it doesn't need a second rise. It's great for busy people.
- Bake at 350ºF for about an hour. Sometimes I preheat the oven, sometimes not. It's pretty forgiving; I actually think it came out with a better texture and browner crust when I put the bread into a cold oven and then turned it on (You could let it rise in the oven, uncovered, and then simply turn the oven on without disturbing the bread at all So easy.)
- Allow the bread to cool for 15 - 20 minutes, then slice. It will fall apart a bit if you slice it while hot, but once cool, it slices beautifully and holds together. If your pan is well-greased, it should pop right out. I often don't even wash my loaf pans if I'm going to bake again within a day because the pan is already mostly clean.


I looked at the sour dough starter cultures on cultures for health and was kind of overwhelmed. Do you have a particular one that you recommend?
Also, what attachment do you use on your kitchen aide? The bread hook? Or just the flat mixer thingy?
I don’t know what Kate did but I was initially overwhelmed by all the choices too. I ended up getting the spelt sourdough starter from Cultures for Health, but ended up using whole wheat flour most of the time after a while. I think sourdough starters are fairly forgiving, so you can switch the type of flour you use without causing any harm.
This is the one I chose: http://www.culturesforhealth.com/desem-sourdough-starter.html It is the only whole wheat one they have. The majority are made with white flour. Since I intended to make whole wheat bread, I started with the culture that was created with it.
Yes, I used the bread hook. You could start with the paddle, but once the dough is thicker you would need to switch. I just use the bread hook the whole time.
Kate, does this loaf work for sandwiches? I have tried so many recipes and they always end up so crumbly. I have never found a successful homemade sandwich bread.
Hi Heather,
I think it would. If you try to slice it while hot, it will just fall apart. If you wait until it is completely cool, it slices beautifully. I have used it for French toast sticks and it held together quite well, even after being dipped in the batter. Just make sure you wait until it’s cool. 🙂
[…] Perfect Sourdough Bread by Modern Alternative Mama is a great recipe to use if you just want to bake one loaf. […]
[…] 4 – 6 slices sourdough bread (make your own) […]
[…] That mason jar there, in the middle? That’s my sourdough starter. It is usually on my counter so that I can bake with it every few days. I make several loaves of bread. It’s easy — I just use this recipe. […]
[…] Sourdough Bread – Modern Alternative Mama Honey Wheat Bread – The Hippy Homemaker Hamburger Buns – The Hippy Homemaker Soaked Whole Wheat Pizza Crust – The Pistachio Project […]
Looks like a great recipe. I have active white flour and whole wheat Starters in my fridge. Can this be made with 100% whole wheat or white whole wheat flour? We try to eat whole grains as much as possible. Thank you Joyce
Hi Joyce,
Yes, it can be made with 100% whole wheat! I used white whole wheat for it. I rarely use white flour in my baking, either. 🙂
Thanks for great recipe my examples are good except the loaf does not brown do you have any suggestions
I used an 8×4 loaf pan and think a larger pan may be better. It rose faster than 8 hours. I like a slower rise, especially for only one rise. Haven’t cut into it yet, but wondering what size pan you recommend.
I understand that sourdough recipes are best done be weight. Do you have the equivalent weights for the ingredients in this recipe?
Can a bread machine be used to make this sourdough bread?t